Topic help with sony tv: Welcome to our comprehensive guide on "Help with Sony TV," designed to enhance your viewing experience through easy troubleshooting tips, setup advice, and feature maximization for your Sony television.
Table of Content
- How can I troubleshoot issues with my Sony TV?
- How to Connect Your Sony TV to the Internet, Network & Wi-Fi
- Guide to Picture & Screen Troubleshooting
- Understanding Power Issues and Blinking Lights on Your Sony TV
- Remote Control Troubleshooting and Setup
- YOUTUBE: \"Sony TV Service Menu Access: Step-by-Step Guide\"
- Utilizing Screen Mirroring and Wi-Fi Direct Features
- Sound & Audio Troubleshooting for Clear Audio Output
- Basic TV Setup & Maintenance Tips
- Steps for Performing a Software Update on Your Sony TV
- Installing and Updating Apps on Sony Android TV
- Essential Troubleshooting Tips for Common Sony TV Issues
How can I troubleshoot issues with my Sony TV?
To troubleshoot issues with your Sony TV, you can follow these steps:
- Check the power source:
Ensure that your TV is properly connected to a working power outlet. If it\'s connected to a power strip or surge protector, make sure that it is also functioning correctly. - Inspect the cables:
Check all the cables connecting your TV to other devices such as cable/satellite box, DVD/Blu-ray player, gaming console, etc. Make sure that the cables are securely plugged in and not damaged. - Restart the TV:
Turn off your TV and unplug it from the power source. Wait for a few minutes, then plug it back in and turn it on. This can help resolve minor software issues. - Adjust the picture settings:
If you are experiencing issues with the picture quality, access the settings menu on your TV and adjust the picture settings such as brightness, contrast, and color. You can also try resetting the picture settings to default. - Update the software:
Check if there are any available software updates for your Sony TV. Go to the settings menu, navigate to the \"System\" or \"About\" section, and check for software updates. If an update is available, follow the on-screen instructions to install it. - Factory reset:
If none of the above steps help, you can try performing a factory reset on your TV. Remember that this will erase all your settings and preferences, so make sure to backup any important data. Go to the settings menu, find the \"Storage & Reset\" or \"System\" section, and choose the option to factory reset your TV. - Contact Sony support:
If the issue still persists, it\'s recommended to get in touch with Sony support. You can visit the Sony support website and search for your specific TV model to find troubleshooting guides and contact information for further assistance.
READ MORE:
How to Connect Your Sony TV to the Internet, Network & Wi-Fi
Connecting your Sony TV to the Internet and Wi-Fi network enhances your viewing experience by providing access to streaming services, online content, and more. Follow these detailed steps to connect your TV seamlessly:
- Turn on your Sony TV and press the Home button on your remote control to access the main menu.
- Navigate to the Settings menu, often represented by a gear icon.
- Scroll down to the Network & Internet settings and select it.
- Choose Wi-Fi to connect to a wireless network. If your TV is Wi-Fi enabled, you will see a list of available networks.
- Select your Wi-Fi network from the list and enter the password when prompted. If your network is not visible, select \"Add network\" and enter the details manually.
- For a wired connection, select Ethernet instead of Wi-Fi, and ensure your TV is connected to the router using an Ethernet cable.
- After selecting your network and entering any necessary information, your TV will attempt to connect to the Internet.
- Once connected, a confirmation message will appear. You can now enjoy online content on your Sony TV.
If you encounter issues during the setup, consider restarting your router or checking your network settings. For specific network issues, consulting your Internet Service Provider (ISP) might provide additional insights.
Enjoy the vast world of digital content and smart features that your Sony TV offers by connecting it to your home network and the Internet.
Guide to Picture & Screen Troubleshooting
Encountering picture or screen issues on your Sony TV can be frustrating, but many of these problems can be resolved with simple troubleshooting steps. Here\"s a guide to help you fix common picture and screen issues:
- No Picture or Black Screen: Ensure your TV is turned on. If the status LED is lit or blinking, check the connection of your external devices and verify they are powered on. Try changing the input source to see if the issue is with a specific device or connection.
- Poor Picture Quality: Check if the issue occurs on all input sources. If it\"s specific to one source, the problem might be with the connected device or its cables. Adjust the picture settings on your TV, such as brightness, contrast, and color, to improve quality.
- Lines on the Screen: If you see horizontal or vertical lines on your TV screen, try resetting your TV to factory settings. If the lines persist, it might indicate a hardware problem that requires professional service.
- Screen Mirroring Issues: For problems with screen mirroring, ensure both your TV and the mirroring device are connected to the same Wi-Fi network. Restart both devices and attempt to reconnect.
- Color Problems: If the colors on your screen look off, adjust the color temperature or reset the picture settings to default. Calibration settings available in your TV menu can also help correct color issues.
- Blinking or Flashing Screen: A blinking or flashing screen can be due to a signal issue. Check the cable connections and replace any damaged cables. If using an antenna, adjust its placement for a better signal.
If these steps do not resolve your issue, consulting the Sony support website or contacting a professional service may be necessary. Remember, regular maintenance and firmware updates can prevent many common picture and screen problems.
Understanding Power Issues and Blinking Lights on Your Sony TV
Experiencing power issues or blinking lights on your Sony TV can be concerning, but understanding the causes and solutions can help resolve these issues effectively. Here are some common problems and steps to troubleshoot them:
- Check the Electrical Plug: Begin by checking the power connection. Ensure your TV is properly plugged into the wall socket. Avoid using faulty power strips.
- Power Cycle Your TV: Turn off the TV, unplug it, wait for a few minutes, and then plug it back in. This can reset the TV and clear temporary errors.
- Monitor TV Temperature: If your TV is overheating, turn it off to cool down. Ensure proper ventilation around the TV to prevent overheating.
- Unplug External Devices: Disconnect all external devices connected to your TV. If the issue resolves, reconnect them one by one to identify the problematic device.
- Update TV Software: Keep your TV\"s software updated. If the TV turns on and then off with a red light, updating the software might resolve the issue.
- Professional Help: If these steps don\"t resolve the issue, consider contacting a professional technician for a detailed inspection and repair.
Understanding the LED Blink Codes:
- Red light blinking can indicate various issues, such as power board problems or overheating.
- The number of blinks can help identify the specific issue.
- Other LED colors, like orange or green, may indicate different statuses like sleep mode or normal operation.
In summary, resolving power issues and blinking lights on your Sony TV often involves basic troubleshooting steps like checking connections, power cycling, and software updates. If these steps don\"t help, seeking professional assistance is advisable.
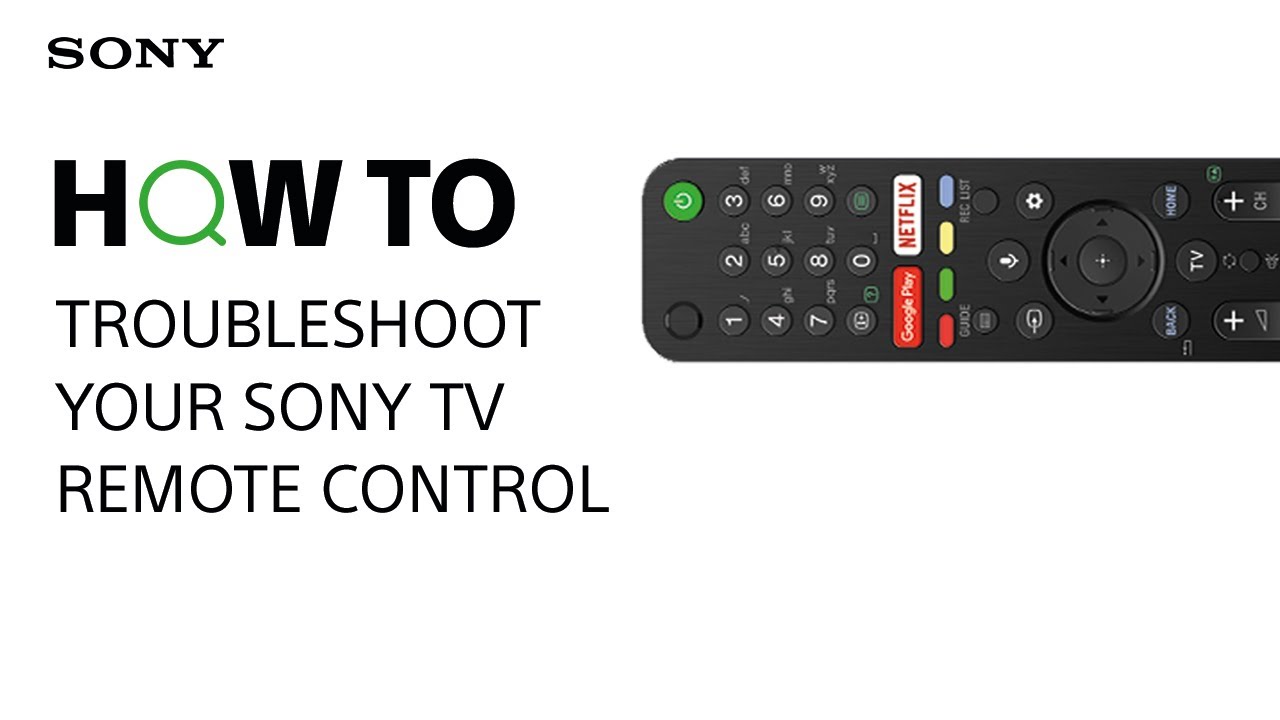
Remote Control Troubleshooting and Setup
Troubleshooting and setting up your Sony TV remote control can be straightforward if you follow these steps. This guide will help you address common issues and ensure your remote is functioning properly.
Basic Troubleshooting
- Check Remote and TV Batteries: Ensure the batteries in both your remote and TV are not depleted and are inserted correctly, matching the positive (+) and negative (-) symbols.
- Clear Obstructions: Remove any objects that might be blocking the remote control sensor on the TV.
- Avoid Interference: Turn off any fluorescent lights that might interfere with the remote\"s operation.
- Power Button Check: Press the power button on the remote and the TV to determine where the issue lies.
- Reset Remote: Remove the remote\"s batteries, press the power button for three seconds, then reinstall new batteries.
Advanced Steps
- Bluetooth Connection: For remotes with a built-in IR Blaster, check if the Bluetooth connection is active.
- Compatibility Check: Ensure the remote is compatible with your TV model and manufacturer.
- Unblock IR Sensor: Remove any objects that might be blocking the IR sensor on the device.
- Remote Type Specific Troubleshooting: Follow additional steps based on whether your remote is an Infrared (IR) or wireless model.
Setting Up the Remote
- Pairing with TV: If your remote is Bluetooth-enabled, make sure it is paired correctly with your Sony TV.
- Functionality Check: Test all the buttons on the remote to ensure they are working correctly.
Following these steps should help resolve most issues with your Sony TV remote control. If problems persist, you may need to contact Sony support for further assistance.
_HOOK_
\"Sony TV Service Menu Access: Step-by-Step Guide\"
Looking for a comprehensive step-by-step guide? Look no further! Our video offers a detailed approach to help you navigate through any challenging task. Whether it\'s cooking, fixing, or learning something new, our guide will make it effortless and enjoyable. Tune in now and master any skill with ease!
Utilizing Screen Mirroring and Wi-Fi Direct Features
Screen mirroring and Wi-Fi Direct are innovative features that allow you to display content from your mobile devices or computers on your Sony TV. Follow these steps to utilize these features effectively:
Screen Mirroring
- Enable Screen Mirroring on Your Sony TV: Go to the \"Settings\" menu on your TV, select \"Network\", and then choose \"Screen Mirroring\" to turn it on.
- Prepare Your Mobile Device: Ensure that your mobile device supports screen mirroring and is on the same Wi-Fi network as your TV.
- Start Mirroring: On your mobile device, open the screen mirroring settings and select your Sony TV from the list of available devices.
- Confirm Connection: Accept the connection request on your TV to start mirroring the content from your mobile device.
Wi-Fi Direct
- Activate Wi-Fi Direct on Your Sony TV: Access \"Settings\", then \"Network\", and select \"Wi-Fi Direct\" to enable it.
- Connect Your Device: On your mobile device or computer, open the Wi-Fi settings and connect to the Wi-Fi Direct network of your Sony TV.
- Use Wi-Fi Direct: Once connected, you can stream content directly from your device to the TV without the need for a home network.
Note: The steps may vary slightly depending on the model of your Sony TV and the operating system of your mobile device or computer. Always ensure your devices\" software is up to date for the best experience.
Sound & Audio Troubleshooting for Clear Audio Output
Troubleshooting sound and audio issues on your Sony TV can be simple with these step-by-step instructions:
- Check the Volume: Ensure the TV volume is not muted or set too low.
- Inspect Connections: Verify that all audio cables are securely connected to your TV and any external speakers or devices.
- Audio Output Settings: Go to the TV\"s settings menu and check the audio output configuration to ensure it aligns with your setup.
- Test Different Sources: Try using different input sources to determine if the issue is with a particular device or connection.
- Check for Interference: Remove potential sources of interference, such as other electronic devices or obstacles between your TV and remote or audio equipment.
- Software Update: Ensure your TV\"s software is up-to-date as updates can resolve audio issues.
- Factory Reset: If none of the above steps work, consider a factory reset, but be aware this will erase your customized settings.
If these steps don\"t resolve the issue, further assistance from Sony support may be necessary.

Basic TV Setup & Maintenance Tips
Setting up and maintaining your Sony TV properly ensures the best viewing experience. Here are some tips:
- Initial TV Setup: Choose your preferred language, agree to the Privacy Policy, and set up your TV\"s network connection (either Wi-Fi or wired).
- Network Setup: Connect to your home network for internet access. You can choose \"Easy\" setup for Wi-Fi or \"Expert\" for manual settings.
- Location Settings: Select your region or country during the initial setup process.
- Channel Tuning: Auto-program channels on your TV or opt to do it later.
- Date and Time: Ensure the date and time are correctly set on your TV.
- Regular Cleaning: Dust your TV regularly, especially the screen and vents, to prevent overheating and maintain picture quality.
- Software Updates: Regularly check for software updates to keep your TV running smoothly with the latest features.
- Proper Ventilation: Ensure your TV is placed in a well-ventilated area to prevent overheating.
Following these steps will help in maintaining the optimal performance of your Sony TV.
Steps for Performing a Software Update on Your Sony TV
Keeping your Sony TV up-to-date is crucial for optimal performance and accessing new features. Follow these steps to perform a software update:
- Check Internet Connection: Ensure your TV is connected to the internet.
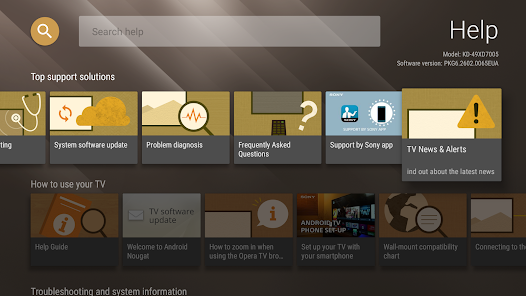
- Access the Settings Menu: Press the \"Home\" button on your remote and navigate to the \"Settings\" menu.
- Find the Update Option: In the \"Settings\" menu, go to \"Customer Support\", \"Setup\", or \"Product Support\" depending on your TV model.
- Select Software Update: Choose \"Software Update\" or \"Network\". If prompted, select \"Yes\" or \"OK\" to start the update.
- Automatic Update Option: You can also enable automatic updates in the same menu to keep your TV updated without manual intervention.
- Download and Install: If an update is available, follow the on-screen instructions to download and install it.
- Restart TV: Your TV might restart during the update process. Wait for it to complete and do not turn off the TV.
Note: If your TV doesn’t have internet access, you can download the update to a USB drive from a computer and then install it on your TV.
Installing and Updating Apps on Sony Android TV
Installing and updating apps on your Sony Android TV is a straightforward process. Follow these steps to enhance your entertainment experience:
- Access Google Play Store: Press the HOME button on your remote and navigate to the Google Play Store in the Apps category.
- Search for Apps: Use the remote to select the Search icon in the Google Play Store. You can use voice search or the on-screen keyboard to find apps.
- Install Apps: From the search results, select the app you wish to install and then choose \"Install\".
- Enable Automatic Updates: To keep your apps up-to-date automatically, go to the Google Play Store settings and enable \"Auto-update apps at any time\".
Note: An internet connection and a Google account are necessary for downloading and installing apps. For paid apps, payment information is required.
_HOOK_
READ MORE:
Essential Troubleshooting Tips for Common Sony TV Issues
Experiencing issues with your Sony TV can be frustrating, but many common problems can be solved with some basic troubleshooting. Here are some essential tips:
- Soft Reset: If your TV is not responding or having minor glitches, perform a soft reset by holding the power button on the remote until a \"Power off\" message appears. The TV will reboot automatically.
- Check Remote Control: If the TV doesn\"t respond to the remote, try replacing the batteries or resetting the remote by removing batteries and holding the power button.
- Power Cycle the TV: Unplug the TV from the power source for 60 seconds to discharge residual power, then plug it back in and turn it on.
- Inspect Indicator Light: If the TV\"s indicator light isn\"t lit, check the power cord and outlet for a proper connection.
- Update Firmware: Ensure your TV\"s firmware is up to date to avoid functionality issues.
- Audio and Picture Quality: If experiencing poor audio or picture, check the input source, adjust picture and audio settings, and ensure all cables are securely connected.
- Internet Connectivity: If the TV can\"t connect to Wi-Fi, restart your TV and router, check Wi-Fi signal strength, and update TV software.
- App Issues: For apps not working, clear cache/data or reinstall the app. Ensure apps are up to date.
If these steps don’t resolve the issue, consider contacting Sony support for further assistance.
Overcome any challenge with your Sony TV using our comprehensive guide. From connectivity to picture quality, these easy-to-follow tips ensure you enjoy the best of your Sony TV’s capabilities. Stay tuned for more helpful insights!