Topic how to format sd card on sony a7iii: Unlock the full potential of your Sony A7III with this easy guide on formatting SD cards, ensuring your camera is always ready to capture stunning images.
Table of Content
- How do I format an SD card on the Sony A7III?
- Steps to Format SD Card
- Preparing Your Sony A7III for Formatting
- Navigating the Sony A7III Menu
- Selecting the SD Card Slot
- Confirming the Format Action
- Formatting SD Card for Optimal Performance
- YOUTUBE: How to Format SD Card on Sony Alpha Camera
- Troubleshooting Common Issues
- Best Practices Before Formatting
- Recommended SD Cards for Sony A7III
- How to Recover Data After Formatting
How do I format an SD card on the Sony A7III?
To format an SD card on the Sony A7III, follow these steps:
- Insert the SD card into the camera\'s SD card slot.
- Turn on the camera by pressing the power button.
- Press the Menu button on the back of the camera.
- Navigate to the Setup tab using the control wheel or arrow buttons.
- Scroll down to find and select Format or Format Memory Card option.
- Choose the SD card you want to format if you have multiple cards inserted.
- Confirm the formatting process by selecting OK or Yes when prompted.
- Wait for the camera to format the SD card. This may take a few seconds.
- Once the formatting is complete, you will see a confirmation message.
- Press the Menu button again to exit the menu and continue using your camera.
READ MORE:
Steps to Format SD Card
- Ensure your Sony A7III is turned off before inserting the SD card.
- Power on your camera and press the Menu button located on the back near the top-left end of the LCD screen.
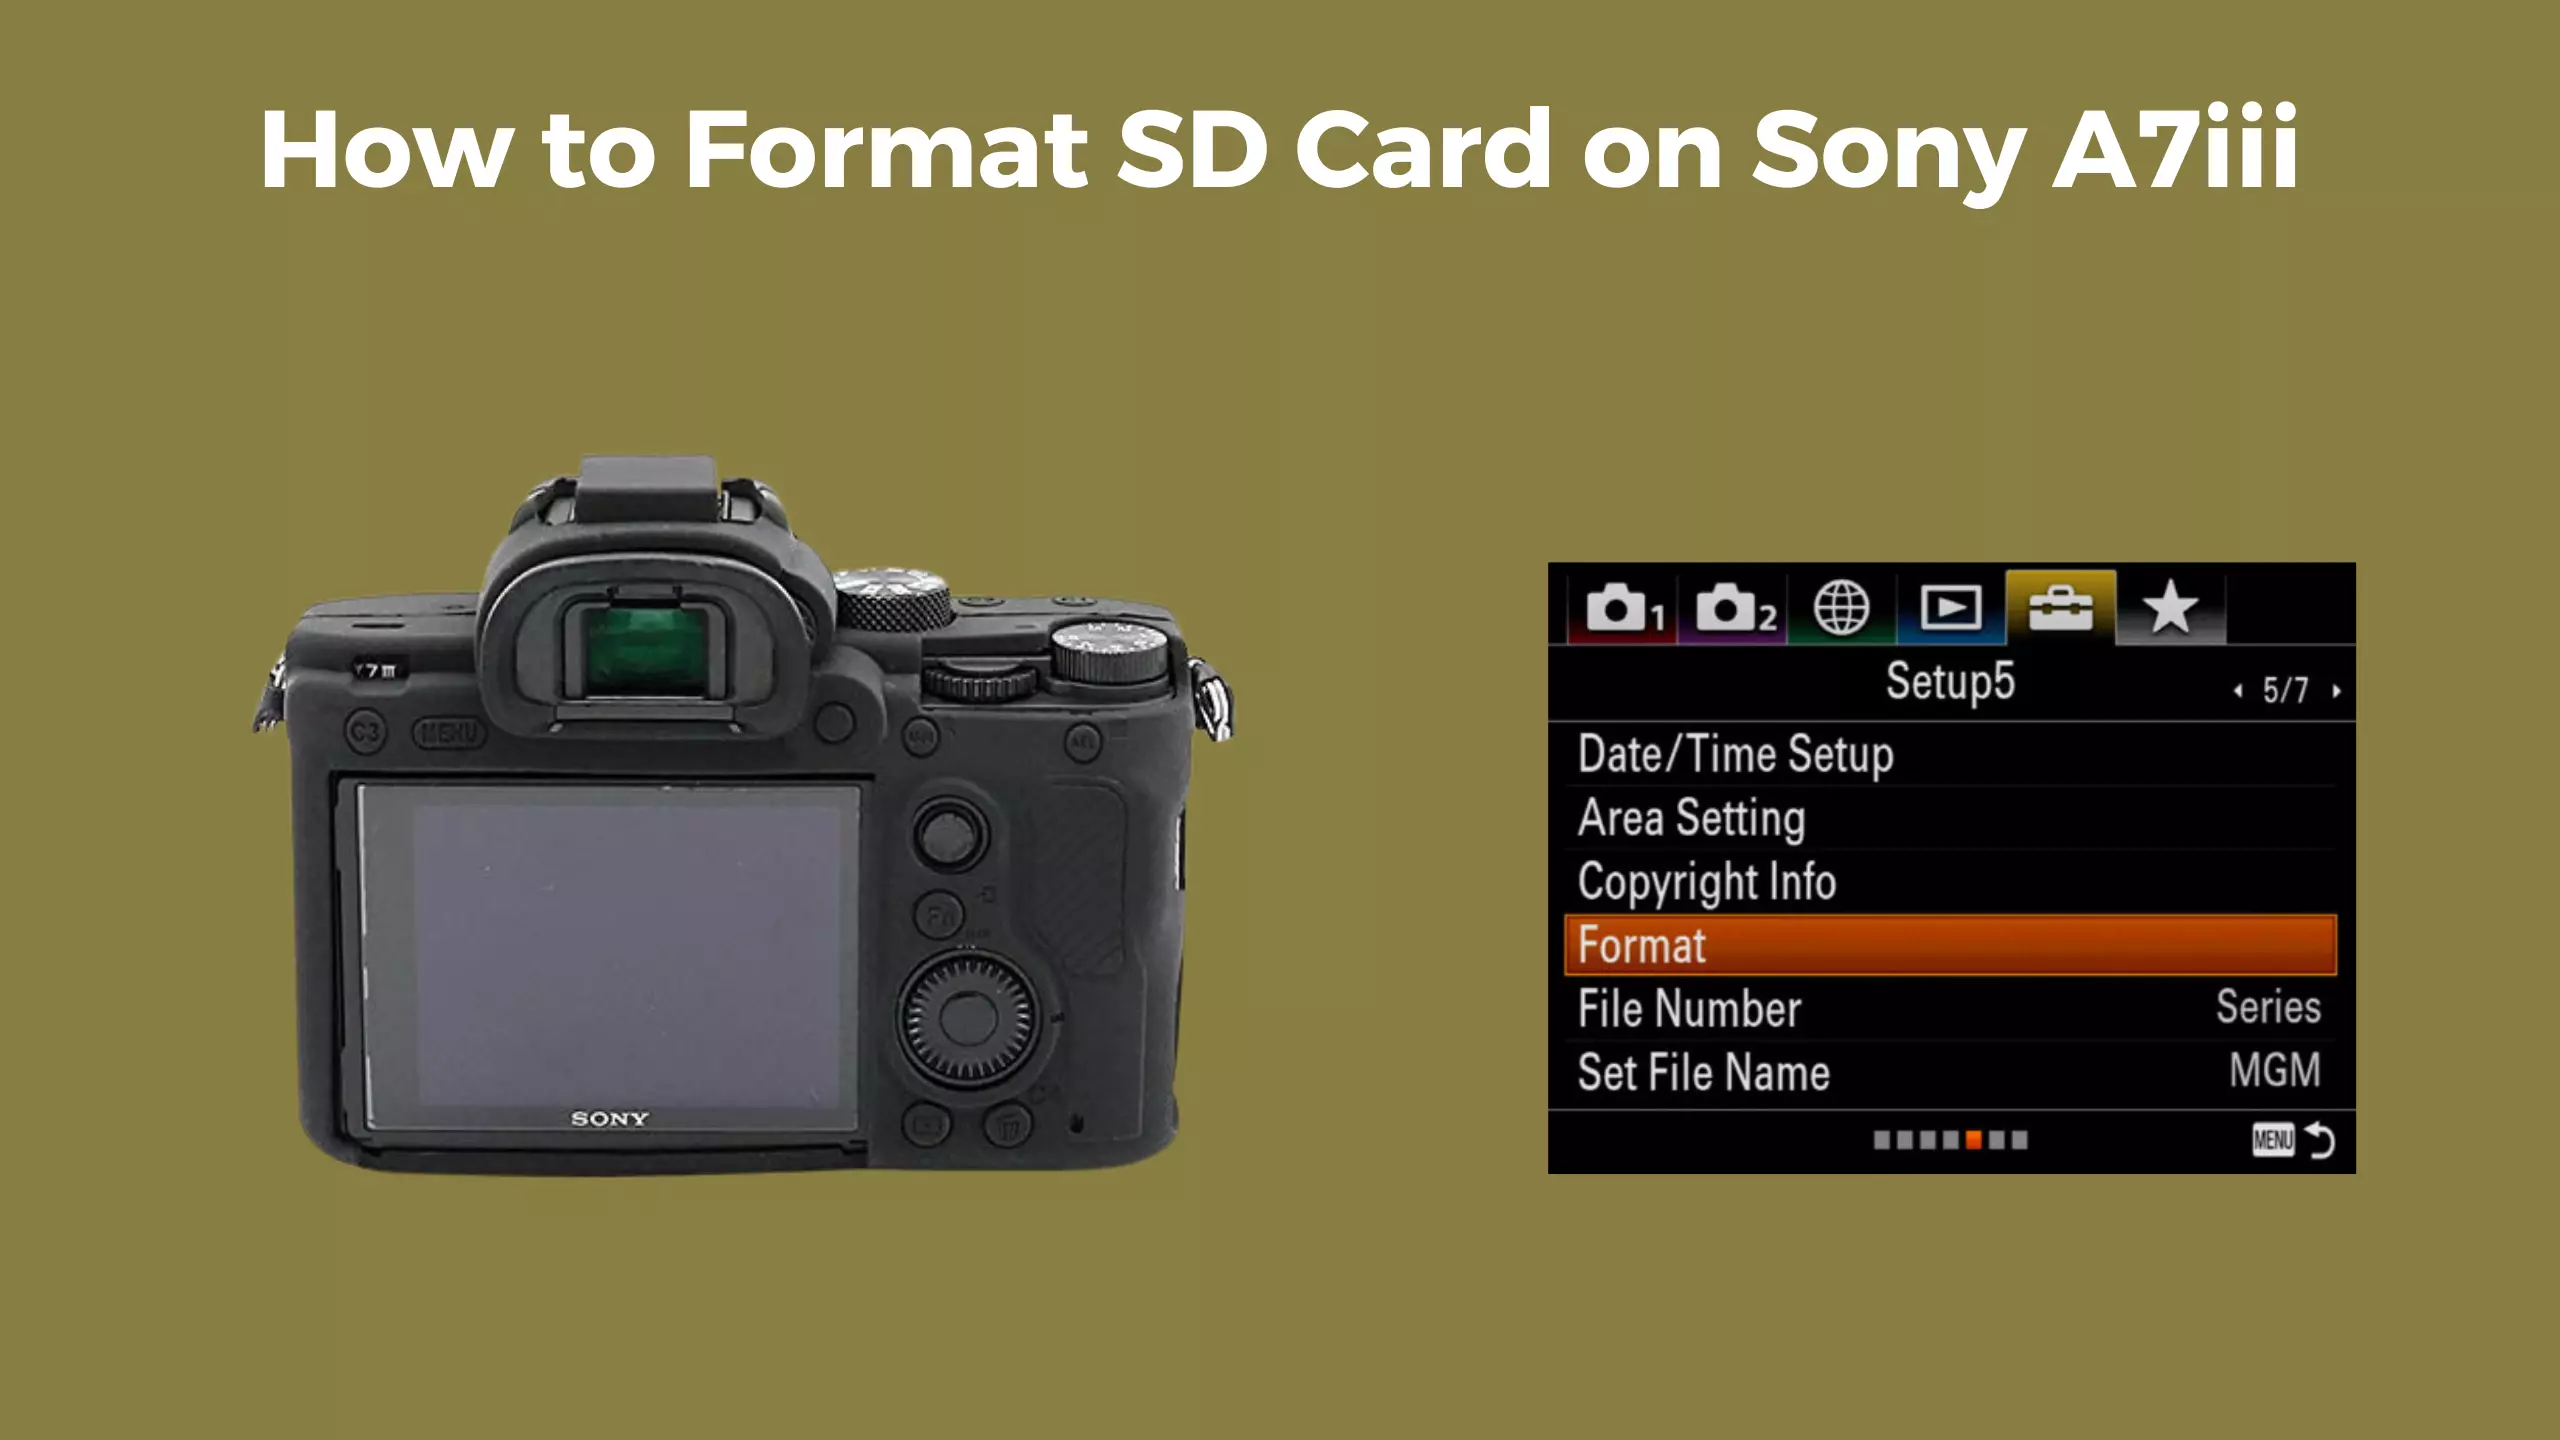
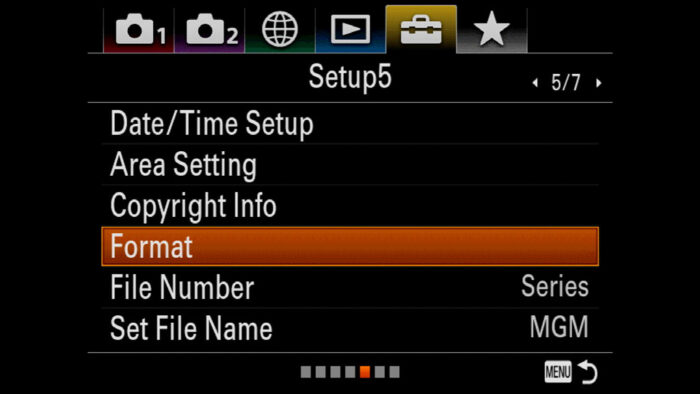
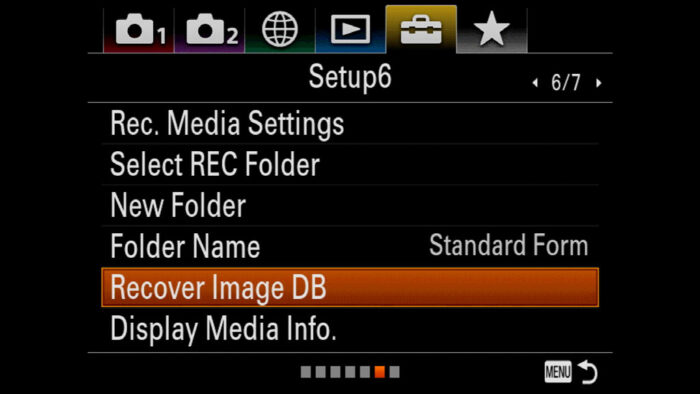
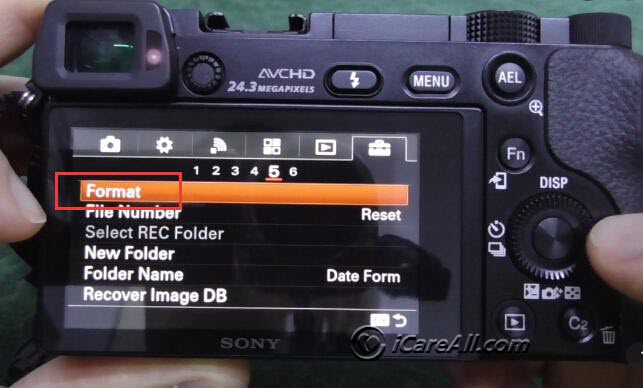
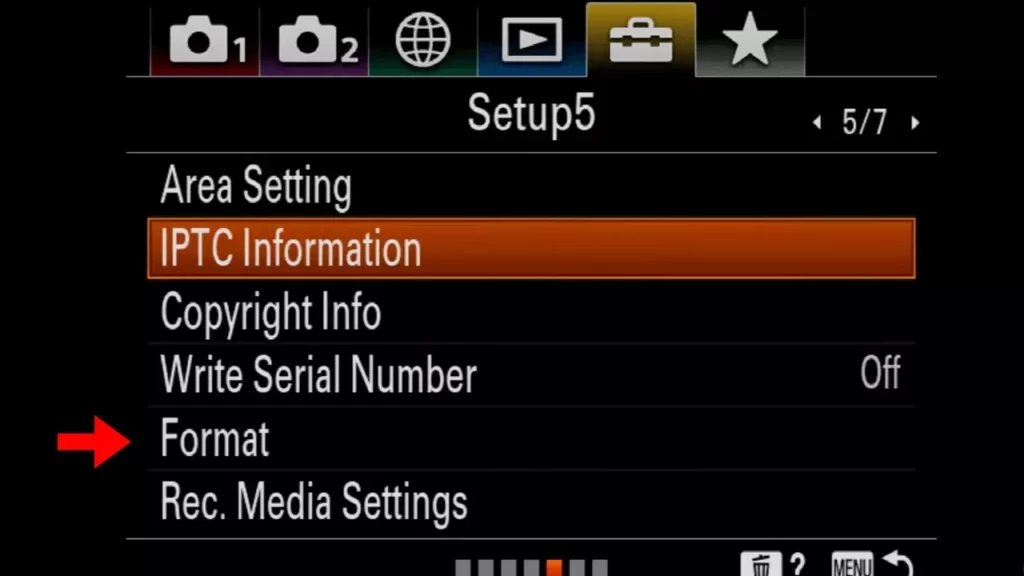
- Navigate to the Setup menu by scrolling to the suitcase icon and select \"Setup5\" from the options.
- Scroll down to find the \"Format\" option and select it.
- Choose the SD card slot you wish to format if your camera has more than one slot.
- Confirm your choice by selecting \"OK.\" The camera will warn that all data on the card will be deleted.
- Wait for the formatting process to complete before turning off your camera or removing the SD card.
Note: Formatting your SD card will delete all data stored on it, so make sure to back up any important files before proceeding.
Preparing Your Sony A7III for Formatting
Before formatting the SD card on your Sony A7III, it\"s essential to prepare your camera to ensure a smooth and successful formatting process. Follow these preparatory steps to avoid any issues:
- Ensure your camera battery is fully charged to prevent the camera from turning off during the formatting process.
- Backup any valuable data from your SD card to another storage device or cloud service, as formatting will erase all data on the card.
- Turn off your camera before inserting or removing the SD card to protect your data and avoid damaging the card.
- Insert the SD card into the correct slot of your Sony A7III. If your camera has two slots, decide which one you will be formatting.
- Turn on your camera and make sure it is in the \"Off\" or \"Standby\" mode before proceeding to the formatting menu.
Following these steps will ensure your camera and SD card are correctly prepared for formatting, helping to maintain your equipment\"s integrity and data security.
Navigating the Sony A7III Menu
To efficiently format your SD card on the Sony A7III, familiarizing yourself with the camera\"s menu system is crucial. The following steps will guide you through the menu to the format option:
- Turn on your Sony A7III by pressing the power button.
- Press the \"Menu\" button located on the back of the camera, near the top-left corner of the LCD screen.
- Use the control wheel or the touchscreen to navigate to the \"Setup\" tab, which is indicated by a suitcase icon.
- Scroll through the Setup menu to locate the \"Format\" option. The Setup menu is divided into multiple pages, so you may need to navigate to \"Setup5\" or the page where the \"Format\" option is located.
- Select \"Format\" by pressing the center of the control wheel or by tapping it on the touchscreen.
- Follow any additional on-screen instructions to complete the formatting process, ensuring that you select the correct SD card slot if your camera is equipped with more than one.
This step-by-step guide helps you smoothly navigate through the Sony A7III\"s menu system to the format function, ensuring your SD card is correctly prepared for use.
Selecting the SD Card Slot
To format an SD card on your Sony A7III, you must first select the correct SD card slot. The Sony A7III features two SD card slots, allowing for flexible storage options. Follow these steps to select the SD card slot you wish to format:
- Ensure your camera is turned off before inserting the SD card into the desired slot. The Sony A7III\"s SD card slots are typically located on the side of the camera. Slot 1 supports faster UHS-II cards, while Slot 2 is compatible with UHS-I cards.
- Power on your Sony A7III camera.
- Press the \"Menu\" button to enter the camera\"s main menu.
- Use the control wheel or the multi-selector to navigate to the \"Setup\" menu, indicated by a toolbox icon.
- Scroll to the \"Setup5\" submenu and look for the \"Format\" option.
- Before selecting \"Format,\" you\"ll need to choose which SD card slot to format. If you have inserted SD cards into both slots, the camera will prompt you to select either Slot 1 or Slot 2. Select the slot corresponding to the SD card you intend to format.
It\"s crucial to select the correct SD card slot to avoid formatting the wrong card. Formatting an SD card will erase all data on it, so ensure you have backed up any important files before proceeding.

_HOOK_
Confirming the Format Action
After selecting the SD card slot you wish to format on your Sony A7III, you will need to confirm the format action. This is a critical step as formatting the SD card will permanently erase all data stored on it. Follow these steps to safely confirm and complete the format process:
- Once you have selected the SD card slot to format, you will be directed to a confirmation screen. This screen serves as a final warning that all data on the card will be deleted.
- On the confirmation screen, you will see two options: \"Cancel\" and \"Enter.\" To proceed with formatting, select \"Enter.\" If you have second thoughts or selected the wrong card slot, choose \"Cancel\" to exit the formatting process without making any changes.
- After selecting \"Enter,\" the camera will prompt you for a final confirmation. It typically displays a message such as \"Delete all data on memory card? This cannot be undone.\" To proceed, select \"OK.\"
- Once you confirm by selecting \"OK,\" the Sony A7III will begin the format process. A progress bar or a message may appear on the screen indicating that the card is being formatted. Wait for the process to complete without turning off the camera or removing the SD card.
- After the format is complete, the camera will display a message confirming that the SD card has been successfully formatted. At this point, the card is ready for use, and you can start capturing new photos and videos.
It is essential to ensure that you have backed up any valuable data before confirming the format action, as recovery of deleted data can be challenging and is not always possible.
Formatting SD Card for Optimal Performance
Formatting your SD card not only clears data but also optimizes its performance for your Sony A7III. This is crucial for maintaining the speed and reliability of your card, especially when shooting in high resolution or recording 4K video. Follow these steps to ensure your SD card is formatted for optimal performance:
- Insert the SD card into the correct slot of your Sony A7III. If your card supports UHS-II, use Slot 1 for maximum speed.
- Before formatting, make sure your camera\"s battery is sufficiently charged to avoid interruptions during the process. A power failure during formatting could render your SD card unusable.
- Go to the camera\"s main menu and navigate to the \"Setup\" section, then find the \"Format\" option as previously described.
- When selecting the card slot for formatting, choose the card you intend to use for your upcoming shoots. This ensures the card is properly initialized and optimized for the camera\"s file system.
- Confirm the format action carefully, understanding that all data will be erased. This step is crucial for preparing the card to work seamlessly with your camera.
- After formatting, consider taking a few test shots and reviewing them. This can help ensure the card is functioning correctly and efficiently with your camera.
In addition to regular formatting, it\"s recommended to periodically check your SD card for errors using a computer. This can help identify and fix potential issues before they affect your photography. Always use reputable software for error checking and avoid formatting your card excessively, as this can reduce its lifespan. By maintaining your SD card with careful formatting practices, you\"ll ensure reliable performance and longevity, allowing you to focus on capturing exceptional images with your Sony A7III.
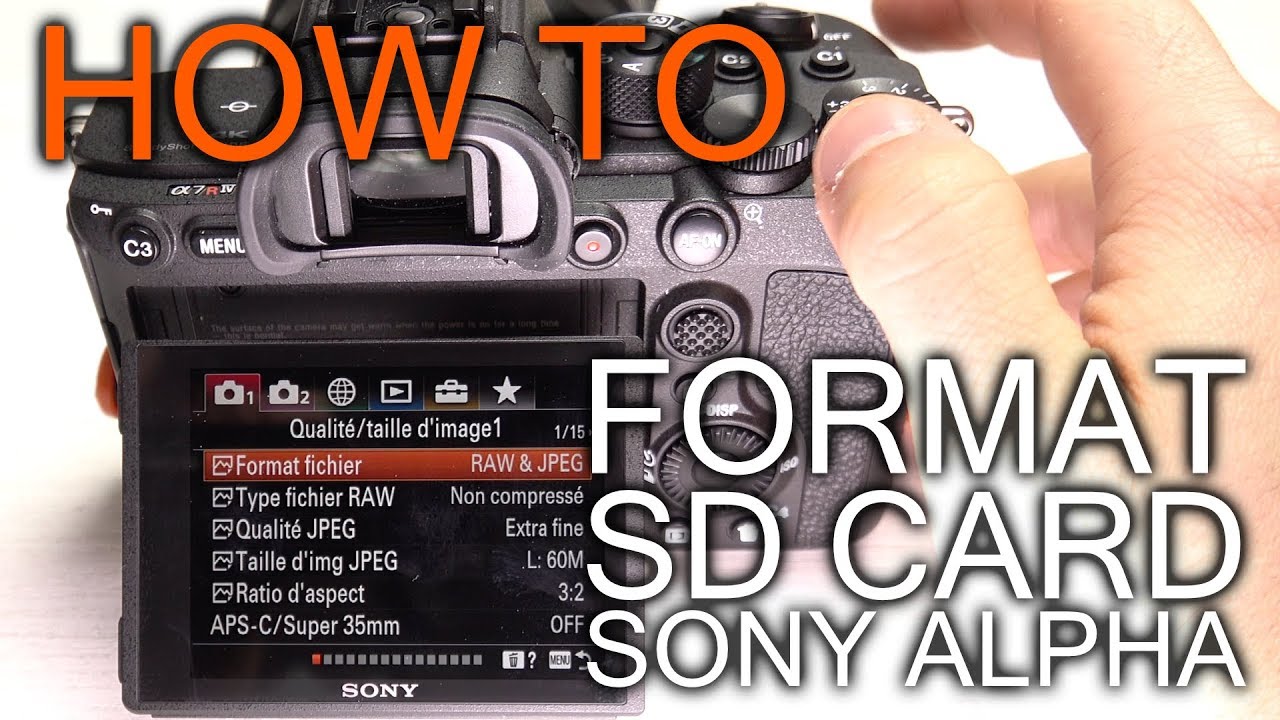
How to Format SD Card on Sony Alpha Camera
\"Discover the breathtaking world of photography with the Sony Alpha Camera! From stunning landscapes to captivating portraits, this camera delivers exceptional image quality and lightning-fast performance. Watch our video to unlock the full potential of this remarkable device!\"
How to Format SD Memory Card on Sony Camera and Erase All Data (Easy Method!)
\"Looking for the perfect memory card to store your precious moments? Look no further than the SD Memory Card! Reliability, speed, and ample storage capacity make it the ideal companion for your digital adventures. Watch our video to find out how this memory card will revolutionize your photography experience!\"
Troubleshooting Common Issues
Even with careful formatting, you may encounter issues with your SD card on the Sony A7III. Here are some common problems and solutions to help ensure your photography sessions run smoothly:
- SD Card Not Recognized:
- Ensure the SD card is properly inserted into the slot. If the camera still doesn\"t recognize it, try inserting the card into a computer to check if it\"s working. If not, the card may be damaged and need replacement.
- Formatting Fails:
- Make sure your camera\"s battery is fully charged. If formatting fails, remove the SD card, check it for physical damage, and try formatting it using a computer. If the problem persists, the card may be incompatible or defective.
- Error Messages After Formatting:
- If you receive error messages after formatting, it could be due to a compatibility issue with the card type. Ensure your SD card is compatible with the Sony A7III, ideally a UHS-I or UHS-II card with the required speed class for your shooting needs.
- Slow Performance:
- Slow performance during shooting or playback may indicate your SD card is nearing its capacity or is too slow for the camera\"s requirements. Consider using a faster card or transferring files to another storage device to free up space.
- Data Recovery:
- If you\"ve accidentally formatted your SD card and lost important photos or videos, stop using the card immediately. Use reputable data recovery software to attempt recovery, or consult a professional data recovery service for assistance.
By addressing these common issues, you can enhance your Sony A7III experience and ensure your SD card performs reliably during your photography ventures.
Best Practices Before Formatting
Before formatting your SD card in the Sony A7III, following a set of best practices can ensure the safety of your data and the longevity of your card. Here are essential steps to take prior to initiating a format:
- Backup Your Data: Always backup your photos and videos to another storage device or cloud service. This ensures you don\"t lose precious memories or important work.
- Check Card\"s Content: Review the contents of your SD card one last time to ensure no file is overlooked during the backup process. Sometimes, hidden files or folders may contain valuable data.
- Ensure Battery Life: Make sure your camera\"s battery is fully charged or the camera is connected to a power source. Formatting with low battery can interrupt the process and potentially damage the SD card.
- Use Camera for Formatting: While computers can format SD cards, formatting them in your Sony A7III ensures the file system is optimized for your camera\"s specifications, reducing potential compatibility issues.
- Check Card Health: If your SD card has been acting up (e.g., slow read/write speeds, error messages), consider using a diagnostic tool on a computer to check for errors before formatting. This can help identify if the card is nearing the end of its lifespan.
- Understand Formatting Options: Know the difference between a quick format and a full format. A quick format removes files but doesn\"t scan for bad sectors, while a full format will check the card for errors, which is more time-consuming but thorough.
Adhering to these best practices before formatting your SD card can help safeguard your data and ensure your Sony A7III performs at its best.
Recommended SD Cards for Sony A7III
Choosing the right SD card for your Sony A7III is crucial for making the most out of your camera\"s capabilities. The A7III supports both UHS-I and UHS-II SD cards, offering flexibility in terms of speed and storage capacity. Here are some of the top recommended SD cards that are known for their reliability and performance in the Sony A7III:
- SanDisk Extreme Pro UHS-II: Known for its high-speed performance, this card is ideal for 4K video recording and high-speed burst shooting. It offers read speeds up to 300 MB/s and write speeds up to 260 MB/s.
- Sony SF-G Series UHS-II: Tailored for high-speed photography and video recording, this card provides extremely fast read and write speeds, up to 300 MB/s and 299 MB/s, respectively, making it perfect for professionals.
- Lexar Professional 2000x UHS-II: Offering impressive speeds of up to 300 MB/s for reading and 260 MB/s for writing, this card is excellent for capturing high-resolution images and prolonged 4K video sessions.
- SanDisk Extreme UHS-I: This card is a more affordable option that still offers good performance for photography and video, with read speeds up to 150 MB/s and write speeds that support burst mode shooting.
- Transcend SDXC UHS-II U3: Offers great value with reliable performance for both photo and video, featuring read speeds up to 285 MB/s and write speeds up to 180 MB/s.
When selecting an SD card for your Sony A7III, consider your photography and video recording needs. Factors such as speed, capacity, and price should influence your decision. Always purchase SD cards from reputable retailers to avoid counterfeit products, which can affect your camera\"s performance and reliability.

_HOOK_
READ MORE:
How to Recover Data After Formatting
Accidentally formatting your SD card in the Sony A7III can be distressing, especially if it contained valuable photos or videos. However, it\"s often possible to recover this data with the right steps and tools. Here\"s how to attempt recovery after an accidental format:
- Stop Using the SD Card: Immediately cease using the card after realizing it has been formatted. Continuing to use the card can overwrite the data, making recovery more difficult or impossible.
- Choose Reliable Recovery Software: Select a reputable data recovery software known for its success with SD card recovery. Popular options include Recuva, EaseUS Data Recovery Wizard, and Stellar Data Recovery. Make sure the software supports the file formats you\"re trying to recover.
- Install the Recovery Software on Your Computer: Download and install the recovery software on your computer, not the SD card. This prevents overwriting any recoverable data on the card.
- Connect the SD Card to Your Computer: Use an SD card reader to connect the card to your computer. Ensure that the computer recognizes the card as a removable disk.
- Run the Recovery Software: Launch the recovery software and select the SD card as the location to scan for recoverable files. Follow the software\"s instructions to initiate the scanning process.
- Preview and Recover Files: After the scan, preview the recoverable files. Select the files you wish to recover and choose a safe location on your computer or another external storage device to save them. Avoid saving the recovered files back onto the formatted SD card.
While data recovery software can be effective, there\"s no guarantee that all files will be recovered successfully, especially if the card has been used after formatting. For critical data loss, consider consulting a professional data recovery service for more advanced recovery options.
Mastering the art of formatting SD cards on your Sony A7III ensures optimal performance and reliability, empowering you to capture stunning visuals without worry. Follow these steps to safeguard your memories and elevate your photography journey.