Topic sony vegas tutorial: Unlock the full potential of video editing with our comprehensive Sony Vegas tutorial, designed to elevate your skills from beginner to expert in no time.
Table of Content
- What are the basics of using Sony Vegas Pro?
- Getting Started with Sony Vegas
- Basic Editing Techniques
- Advanced Editing Tools and Techniques
- Adding Text and Titles
- Working with Transitions and Effects
- Color Correction and Grading
- YOUTUBE: VEGAS Pro Tutorial for Beginners in 12 Minutes
- Audio Editing and Sound Design
- Exporting and Rendering Your Final Project
- Best Practices for Efficient Workflow
- Resources for Further Learning
What are the basics of using Sony Vegas Pro?
To use Sony Vegas Pro, you need to understand the basics. Here is a step-by-step guide:
- Launch Sony Vegas Pro on your computer.
- Create a new project by going to File > New > Project.
- Import your media files into the project. You can do this by going to File > Import, or simply dragging and dropping the files into the timeline.
- Arrange your media files in the timeline in the desired order by dragging them around.
- Trim and edit your clips by selecting them in the timeline and using the various editing tools provided. You can cut, split, trim, and apply effects to your clips as needed.
- Add transitions between your clips for smooth and seamless playback. You can do this by selecting the two clips you want to add a transition to, right-clicking, and choosing a transition from the menu.
- Apply audio effects and adjustments by selecting the audio track in the timeline and using the audio editing tools provided. You can adjust the volume, add audio effects, and synchronize audio with video.
- Add titles and text overlays to your video by going to the Titles & Text menu and selecting the desired style. Customize the text, font, and positioning according to your preferences.
- Enhance your video with color correction and grading. Sony Vegas Pro provides various color correction tools, such as curves, levels, and color wheels, to help you achieve the desired look.
- Preview your edited video by clicking on the Play button in the preview window. Make any necessary adjustments to improve the overall quality and timing of your video.
- Once you are satisfied with the final result, you can export/render your video by going to File > Render As. Choose the desired output format, quality settings, and destination folder.
- Click on the Render button to start the rendering process. The time it takes to render will depend on the length and complexity of your video.
By following these steps, you will have a good understanding of the basics of using Sony Vegas Pro. Remember to explore the software further and experiment with different features to unleash your creativity.
READ MORE:
Getting Started with Sony Vegas
Embark on your video editing journey with Sony Vegas by following these initial steps to create professional-looking videos. This guide is tailored for beginners to get a solid foundation in video editing.
- Download and Install Sony Vegas: Choose the version that best suits your needs and follow the installation instructions on the official website.
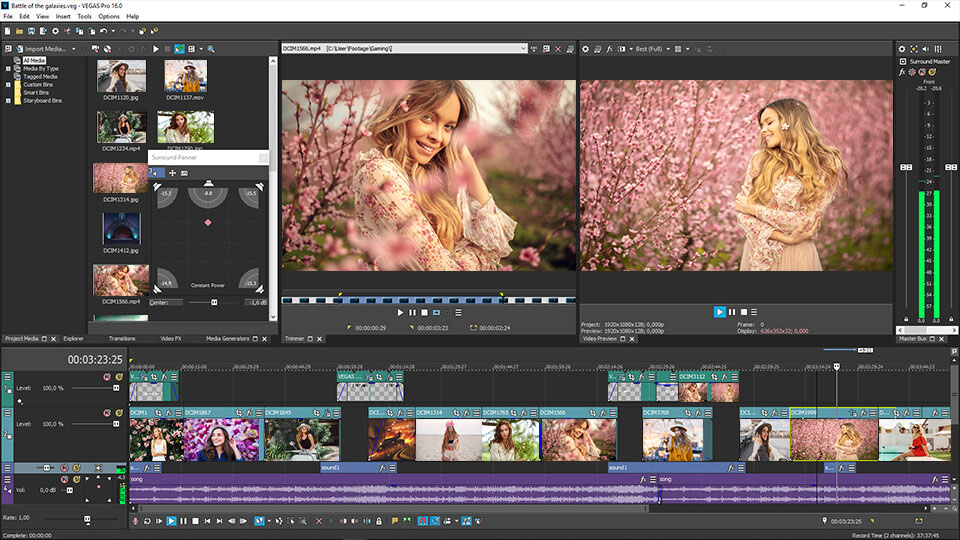
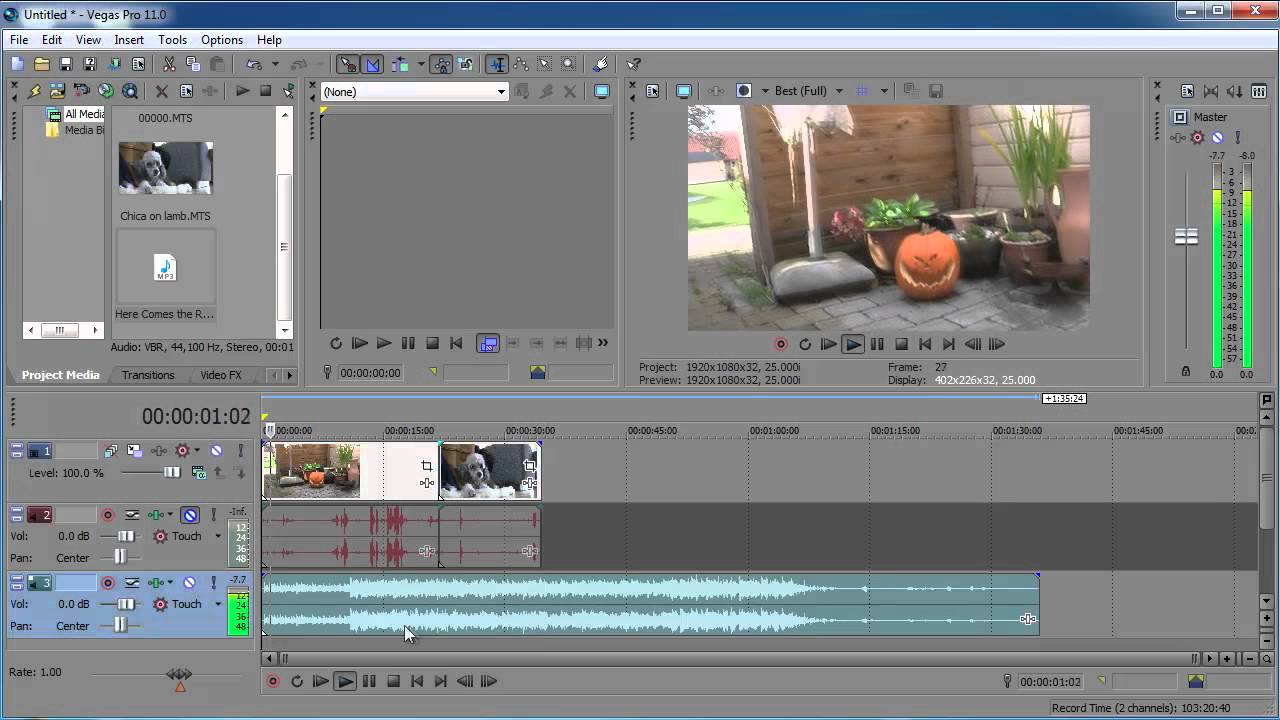
- Familiarize Yourself with the Interface: Open Sony Vegas and spend some time exploring the layout, including the timeline, preview window, and editing tools.
- Import Your Media: Learn how to import video clips, images, and audio files into your project. Go to File > Import and select the files you wish to edit.
- Basic Editing Techniques: Start with simple edits. Learn how to cut and arrange your clips on the timeline, and how to use the trim tool to adjust clip lengths.
- Add Transitions and Effects: Discover how to enhance your video with transitions between clips and apply effects to improve the visual appeal.
- Explore Audio Editing: Experiment with adding background music, adjusting volume levels, and syncing audio with your video.
- Save and Render Your Project: Once you are satisfied with your edit, learn how to save your project and render it into a video format suitable for sharing or publishing.
By following these steps, you will establish a strong foundation in Sony Vegas, paving the way for more advanced video editing projects. Practice is key to mastering Sony Vegas, so start experimenting with its vast array of features and tools.
Basic Editing Techniques
Master the fundamentals of video editing in Sony Vegas with these essential techniques. This section is designed to help beginners understand and apply basic editing steps to create compelling video content.
- Timeline Navigation: Learn how to navigate the timeline efficiently, including zooming in and out to fine-tune edits and moving clips to different positions.
- Splitting Clips: Use the split tool to cut clips into smaller segments. Position the playhead where you want to split the clip and press \"S\" on your keyboard.
- Adding and Adjusting Transitions: Improve the flow of your video by adding transitions between clips. Drag a transition from the transitions tab and drop it between two clips on the timeline.
- Video Effects: Enhance the visual appeal of your video with effects. Select a clip and then choose an effect from the effects tab. Adjust the effect\"s settings in the video event FX window.
- Text and Titles: Add text overlays and titles to your video. Navigate to the media generators tab, select a text template, and drag it onto the timeline. Customize the text in the edit window.
- Audio Editing: Edit your audio by adjusting volume levels, adding fade-ins and fade-outs, and removing unwanted noise. Click on the audio clip to select it and then use the audio tools for adjustments.
- Exporting Your Video: Once you\"re happy with your edits, export your video by going to File > Render As. Choose the appropriate format and settings for your project\"s needs.
These basic editing techniques in Sony Vegas provide a solid starting point for any video project. With practice, you\"ll be able to enhance your videos effectively, making them more engaging and professional.
Advanced Editing Tools and Techniques
Dive deeper into the capabilities of Sony Vegas with advanced editing tools and techniques that can take your video projects to the next level. This section is designed for users who are comfortable with the basics and ready to explore more complex features.
- Color Grading and Correction: Learn how to adjust the color balance, saturation, and brightness to enhance the visual quality of your footage. Utilize the Color Correction tools to achieve a professional look.
- Compositing and Masks: Explore the power of compositing by combining multiple video layers to create visual effects. Use masks to selectively apply effects or to blend layers together.
- Motion Tracking: Implement motion tracking to attach text or objects to moving elements in your video. This technique is perfect for adding dynamic captions or enhancing visual effects.
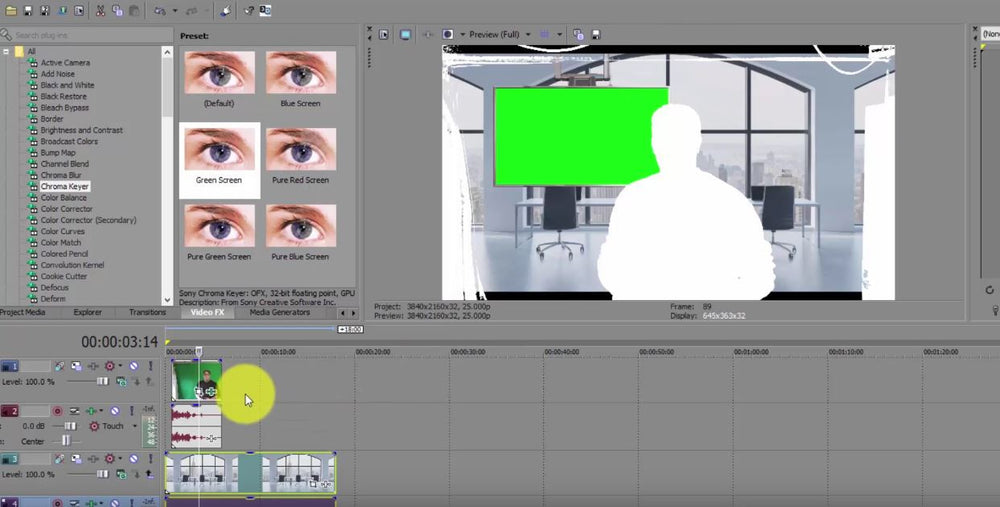
- Chroma Keying (Green Screen): Master the art of chroma keying to replace green screen backgrounds with custom images or videos. This tool opens up endless possibilities for creative visual storytelling.
- 3D Editing: Utilize Sony Vegas\"s 3D editing features to add depth to your projects. Learn how to manipulate 3D layers, texts, and effects for a more immersive video experience.
- Audio Mixing and Mastering: Go beyond basic audio editing with advanced mixing and mastering techniques. Adjust levels, apply effects, and use the mixer to control the audio landscape of your project.
- Custom Animations and Keyframing: Create smooth animations by keyframing movement, opacity, and other properties. This allows for precise control over animation timing and effects.
- Rendering and Output Settings: Fine-tune your rendering settings for optimal quality and efficiency. Learn about different codecs, formats, and settings to ensure your final product looks its best.
By mastering these advanced editing tools and techniques in Sony Vegas, you\"ll unlock the full creative potential of your video projects, making them more engaging, visually stunning, and professional.

Adding Text and Titles
Text and titles play a critical role in video production, providing context, enhancing storytelling, and engaging viewers. Sony Vegas Pro offers versatile tools for adding and customizing text and titles. Follow these steps to effectively incorporate text into your videos.
- Selecting a Text Tool: Open the Media Generators tab and choose \"Text\" to find a variety of text templates.
- Adding Text to Your Timeline: Drag your chosen text template onto the timeline where you want your text to appear.
- Customizing Text: Double-click the text event on the timeline to open the text editing window. Here, you can modify the font, size, color, and alignment of your text.
- Animating Text: Utilize the keyframe controls within the text editing window to animate the text\"s entrance and exit, as well as to apply motion effects.
- Using Advanced Text Features: Explore advanced features like adding outlines, drop shadows, and background colors to make your text stand out.
- Creating Titles: For titles, consider using larger fonts and placing them at the beginning of your video or scene for maximum impact. Adjust the duration on the timeline to control how long the title appears on screen.
- Exporting Your Project: Once you\"re satisfied with your text and titles, review your video in the preview window and then render your project to apply the changes.
Adding text and titles in Sony Vegas is straightforward and enhances the professional quality of your video projects. With practice, you can create dynamic and engaging text effects that captivate your audience.
_HOOK_
Working with Transitions and Effects
Enhance the visual appeal and storytelling of your videos with Sony Vegas\"s wide range of transitions and effects. This section will guide you through the process of adding and customizing these elements to create seamless and visually stunning content.
- Accessing Transitions and Effects: Navigate to the Transitions or Video FX tab in Sony Vegas to explore the available options.
- Adding Transitions Between Clips: Drag a transition from the Transitions tab and drop it between two clips on your timeline. Adjust the duration by dragging the edges of the transition effect.
- Applying Video Effects: Select a clip on the timeline, then drag and drop an effect from the Video FX tab onto the clip. Double-click the effect to customize its properties.
- Customizing Effects: Use the effect editing window to adjust parameters such as intensity, color, and timing to achieve the desired look.
- Previewing Effects: Regularly preview your video to see how the transitions and effects look in real-time. Adjust as necessary to ensure smooth playback and visual coherence.
- Using Keyframes for Dynamic Effects: For more control over how effects change over time, use keyframes in the effect\"s timeline to create dynamic changes in opacity, position, and other properties.
- Saving Custom Effects: If you\"ve created a unique effect setup, you can save it as a preset for future use, making your editing process more efficient.
By mastering transitions and effects in Sony Vegas, you can elevate your video projects, making them more engaging and professional. Experiment with different combinations to discover the best ways to convey your message visually.
Color Correction and Grading
Color correction and grading are essential for enhancing the visual impact of your videos. Sony Vegas provides powerful tools to adjust colors, balance lighting, and create a specific mood or style. Follow these steps to master color correction and grading in your projects.
- Understanding Color Correction: Begin with basic color correction to fix any color imbalances. Adjust the white balance, exposure, and contrast to achieve natural-looking colors.
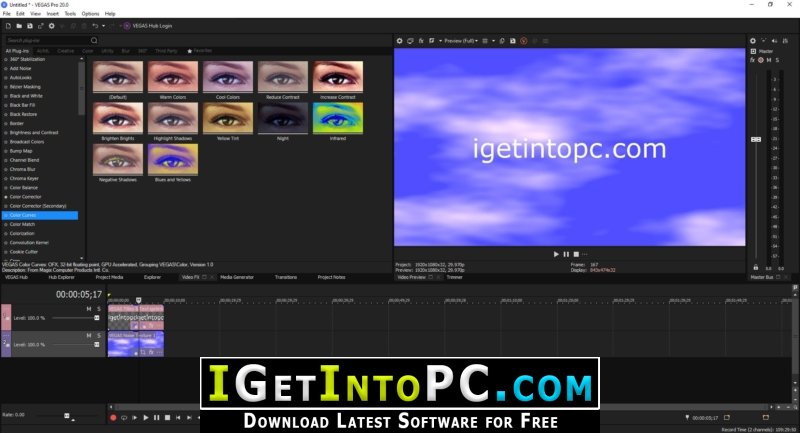
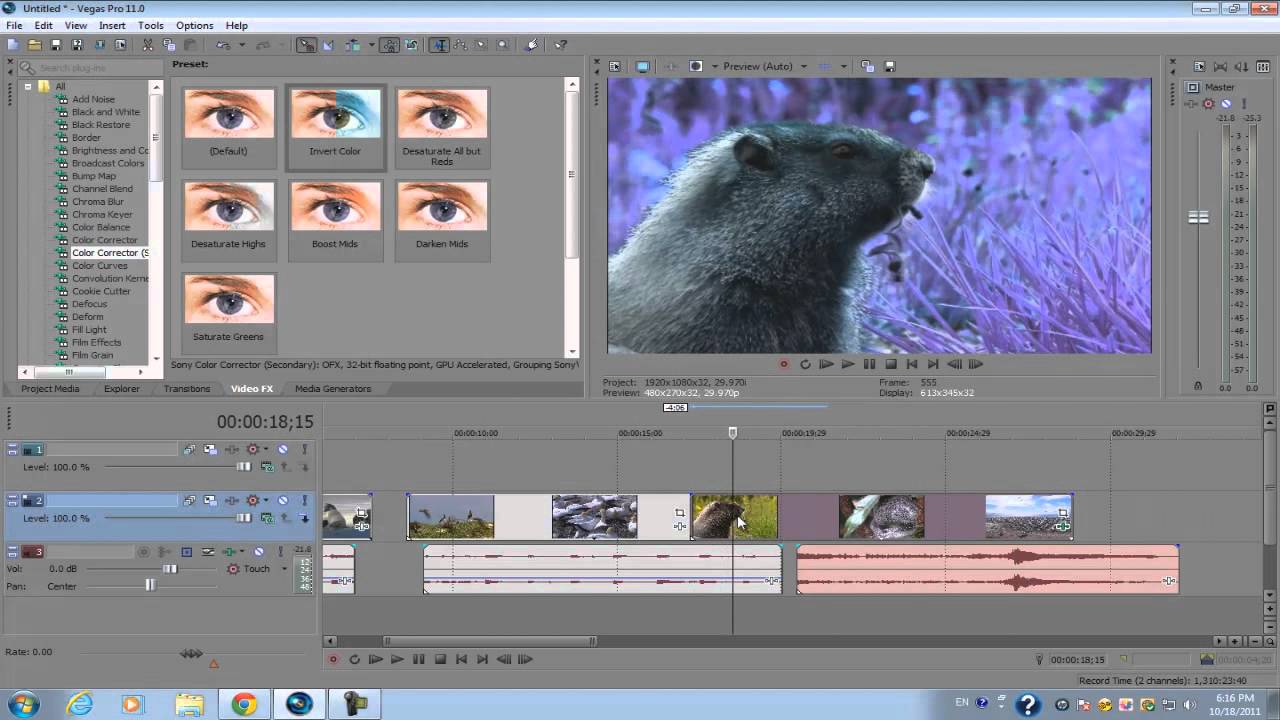
- Accessing Color Correction Tools: Navigate to the Video FX tab and select Color Corrector or Color Balance. Drag the effect onto your clip to start adjusting.
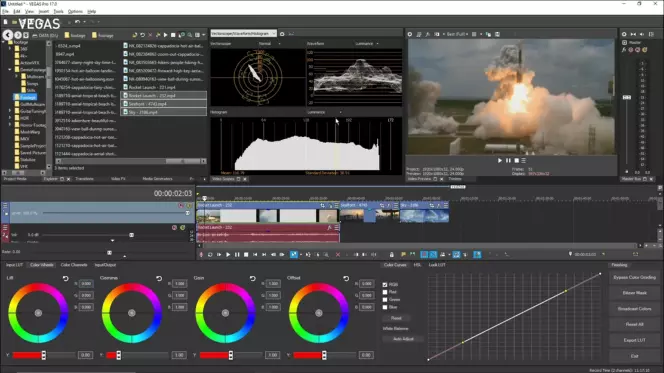
- Adjusting Colors: Use the color wheels and sliders in the Color Corrector to fine-tune the shadows, midtones, and highlights. Aim for a balanced image that reflects the natural look of the scene.
- Applying Color Grading: After correcting colors, move on to color grading to stylize your footage. Use tools like the Color Curves or LUT Filter to apply a specific look or mood to your video.
- Using LUTs for Quick Grading: Load a LUT (Look-Up Table) to instantly apply a color grade. This is a great way to achieve cinematic looks or match the color styles of different shots.
- Creating Consistency: Ensure color consistency across your project by applying similar grading techniques to all clips. This helps to maintain a coherent visual style throughout your video.
- Previewing and Adjusting: Regularly preview your edits on different displays to ensure colors look good on various screens. Adjust as necessary to finalize your color grading.
Color correction and grading can dramatically improve the quality of your videos, making them more appealing and professional. With practice, you can use Sony Vegas\"s tools to create visually stunning projects that captivate your audience.
VEGAS Pro Tutorial for Beginners in 12 Minutes
\"Looking to learn something new? Don\'t miss this incredibly detailed tutorial video that will guide you step by step through the process. Get ready to become an expert in no time!\"
LEARN VEGAS PRO 20 in 20 Minutes: How To Edit Videos
\"Calling all creators! Discover the secrets to taking your videos to the next level with this fantastic edit tutorial. Unleash your creativity and make your content truly stand out from the crowd.\"
Audio Editing and Sound Design
Effective audio editing and sound design are crucial for creating immersive videos. Sony Vegas offers a suite of tools to enhance your project\"s audio. Follow these steps to refine your audio tracks and elevate the overall quality of your video projects.
- Importing Audio: Begin by importing your audio files into Sony Vegas. You can drag them directly onto the timeline or use the File > Import option.
- Syncing Audio and Video: Ensure your audio tracks are perfectly synced with your video. Use the snapping tool to align audio cues with visual elements precisely.
- Adjusting Volume Levels: Use the volume control points on the audio track to adjust the levels. Make sure the dialogue is clear and background music doesn\"t overpower the main audio.
- Applying Audio Effects: Explore the Audio FX tab to apply effects such as EQ (equalization), reverb, and compression to enhance the quality of your audio.
- Removing Background Noise: Utilize the Noise Reduction tool to clean up your audio. This is especially useful for dialogue tracks recorded in noisy environments.
- Creating Soundscapes: Add ambient sounds or sound effects to create a more immersive audio experience. Layer these sounds appropriately to build the scene\"s atmosphere.
- Using Keyframes for Audio Effects: Similar to video effects, use keyframes to dynamically adjust audio effects over time. This is perfect for fading music in or out and adjusting sound effects levels.
- Finalizing Your Audio Mix: Once you\"re satisfied with the audio editing, use the Master Bus track to adjust the overall mix. Ensure that all elements are balanced and nothing is peaking or too quiet.
With these audio editing and sound design techniques in Sony Vegas, you can significantly improve the auditory experience of your videos, making them more engaging and professional.

Exporting and Rendering Your Final Project
Completing your video project in Sony Vegas culminates with exporting and rendering, transforming your edits into a finalized video file. This crucial step requires attention to detail to ensure the highest quality output. Follow this guide to efficiently export your project.
- Final Checks: Before rendering, perform a final review of your project. Check for any unresolved edits, audio issues, or visual inconsistencies.
- Choose Your Output Format: Navigate to File > Render As to open the render settings. Sony Vegas offers a variety of formats; select one that best suits your distribution platform (e.g., MP4 for web).
- Customize Rendering Options: In the Render As window, you can customize your video\"s resolution, frame rate, and bit rate. Choose settings that balance quality with file size, depending on your needs.
- Template Selection: Sony Vegas provides preset templates for various formats and platforms. Select a template as a starting point and adjust the settings as required.
- Name and Save Your File: Choose a descriptive file name and a save location that\"s easy to find. This helps in organizing your projects and rendered files.
- Start Rendering: Click the Render button to start the process. Rendering time will vary based on the project\"s complexity and the chosen settings.
- Post-Rendering Checks: Once rendering is complete, review the final video to ensure it meets your expectations. Check for any artifacts, audio sync issues, or quality degradation.
Exporting and rendering in Sony Vegas is a straightforward process, but it\"s essential to choose the right settings for your project\"s needs. By following these steps, you can achieve a professional-looking video ready for sharing or publishing.
Best Practices for Efficient Workflow
Adopting efficient workflow practices is crucial for maximizing productivity and ensuring high-quality outputs in Sony Vegas. These best practices will help streamline your editing process, making it more efficient and enjoyable.
- Organize Your Media: Before you start editing, organize your files in folders (e.g., video clips, audio, images). Use the Media Bins in Sony Vegas to keep your project tidy and accessible.
- Use Shortcuts: Learn and utilize keyboard shortcuts for common tasks in Sony Vegas. This can significantly speed up your editing process.
- Template and Preset Creation: Create templates and presets for frequently used settings and effects. This saves time when working on similar projects in the future.
- Regular Saving: Make it a habit to save your work regularly. Consider enabling auto-save features to protect against data loss.
- Proxy Editing: For projects with high-resolution video, use proxy editing to improve playback and editing speed. Sony Vegas can automatically create lower-resolution copies of your footage for editing, which can be replaced with the original files during rendering.
- Color Coding: Use color coding for your tracks and clips to visually distinguish different types of media and segments of your project.
- Batch Processing: Utilize the batch processing feature for repetitive tasks, such as rendering multiple versions of a video or applying the same effects to several clips.
- Feedback and Revision: Allocate time for feedback and revisions. Use markers to note areas that require attention or changes based on feedback.
- Learn from Tutorials: Continuously improve your skills by learning from tutorials. The Sony Vegas community offers a wealth of knowledge, from basic tips to advanced techniques.
Implementing these best practices in your Sony Vegas workflow can lead to more productive editing sessions and higher quality projects. Always look for ways to optimize your process and adapt these practices to fit your personal workflow.
_HOOK_
READ MORE:
Resources for Further Learning
Expanding your knowledge and skills in Sony Vegas is a continuous journey. Here are some valuable resources to further your learning and stay updated with the latest techniques and tools in video editing.
- Official Sony Vegas Tutorials: Start with the official website for comprehensive guides and tutorials directly from the developers.
- Online Video Tutorials: Platforms like YouTube have countless tutorials ranging from beginner to advanced levels. Look for channels dedicated to video editing and Sony Vegas.
- Forums and Communities: Join forums and online communities such as the Vegas Creative Software official forum. These platforms are great for asking questions, sharing tips, and connecting with other users.
- Books and eBooks: There are several books and eBooks available that cover Sony Vegas Pro in detail. These resources can provide structured learning and reference material.
- Workshops and Webinars: Keep an eye out for workshops and webinars hosted by professional editors and educators. These can offer deep dives into specific aspects of video editing.
- Practice Projects: Nothing beats hands-on experience. Practice with your own projects or download practice clips to experiment with editing techniques.
By utilizing these resources, you can continually improve your video editing skills, explore creative ideas, and stay at the forefront of digital storytelling with Sony Vegas.
Embark on your Sony Vegas journey with confidence, armed with the knowledge from this comprehensive tutorial. Elevate your video editing skills and unleash your creative potential today!