Topic how to set the clock on a sony car stereo: Struggling with setting the clock on your Sony car stereo? Our comprehensive guide breaks down the process into simple steps, ensuring you can easily manage your stereo"s time settings for a smoother, more enjoyable drive.
Table of Content
- How do I set the clock on a Sony car stereo?
- Step 1: Accessing the Clock Settings
- Step 2: Adjusting the Clock Manually
- Step 3: Using the Home Button to Find Settings
- Step 4: Selecting Clock Adjust in the Settings
- Step 5: Setting the Hour and Minute
- YOUTUBE: How to Set the Clock for Sony Radios
- Step 6: Confirming the Time Setting
- Step 7: Troubleshooting Common Issues
- Step 8: Advanced Settings and Features
How do I set the clock on a Sony car stereo?
To set the clock on a Sony car stereo, follow these steps:
- Press the Home button on the stereo.
- Select Settings.
- Choose General.
- Select Set Date/Time or similar options.
- Switch from Auto(RDS) to Manual if needed.
- Adjust the clock manually by using the on-screen controls or knobs.
- Once the desired time is set, touch the Register/Setup button or a similar option to save the changes.
READ MORE:
Step 1: Accessing the Clock Settings
To begin setting the clock on your Sony car stereo, start by turning on the stereo system. Then, press the \"home\" button to access the main menu. From here, navigate to the \"settings\" option using the control knob or touchscreen, depending on your stereo model. Look for the \"clock\" or \"time\" settings within the menu. This might be under \"general settings\", \"system settings\", or directly listed as \"clock settings\". Select this option to proceed to adjusting the clock.
- Turn on the stereo system.
- Press the \"home\" button to access the main menu.
- Use the control knob or touchscreen to find and select \"settings\".
- Look for \"clock\", \"time\", or \"general settings\" and select it.
This step prepares you to manually adjust the time on your Sony car stereo to ensure accurate timekeeping.

Step 2: Adjusting the Clock Manually
After accessing the clock settings, you can adjust the clock manually with a few simple steps. Ensure your car stereo is in the correct mode for manual adjustment, which may require selecting \"Manual\" as the adjustment option.
- Locate the \"Adjust Clock\" or \"Clock Settings\" option and select it.
- If your model has a rotary dial, turn it to adjust the hours first. Press the dial or a specific button (often labeled \"Enter\" or \"Select\") to set the hour.
- After setting the hour, proceed to adjust the minutes in a similar fashion.
- Some models require pressing the \"Set\", \"Enter\", or a similar button to confirm the time.
Note: The exact steps may vary depending on your Sony car stereo model. Some models use the volume knob for adjustments, while others may have dedicated buttons for setting the time.
If your stereo has a touchscreen, you might need to tap through menus to find the clock settings, then use on-screen buttons to adjust hours and minutes. Once set, look for a \"Save\", \"Set\", or \"Done\" option to finalize the time.

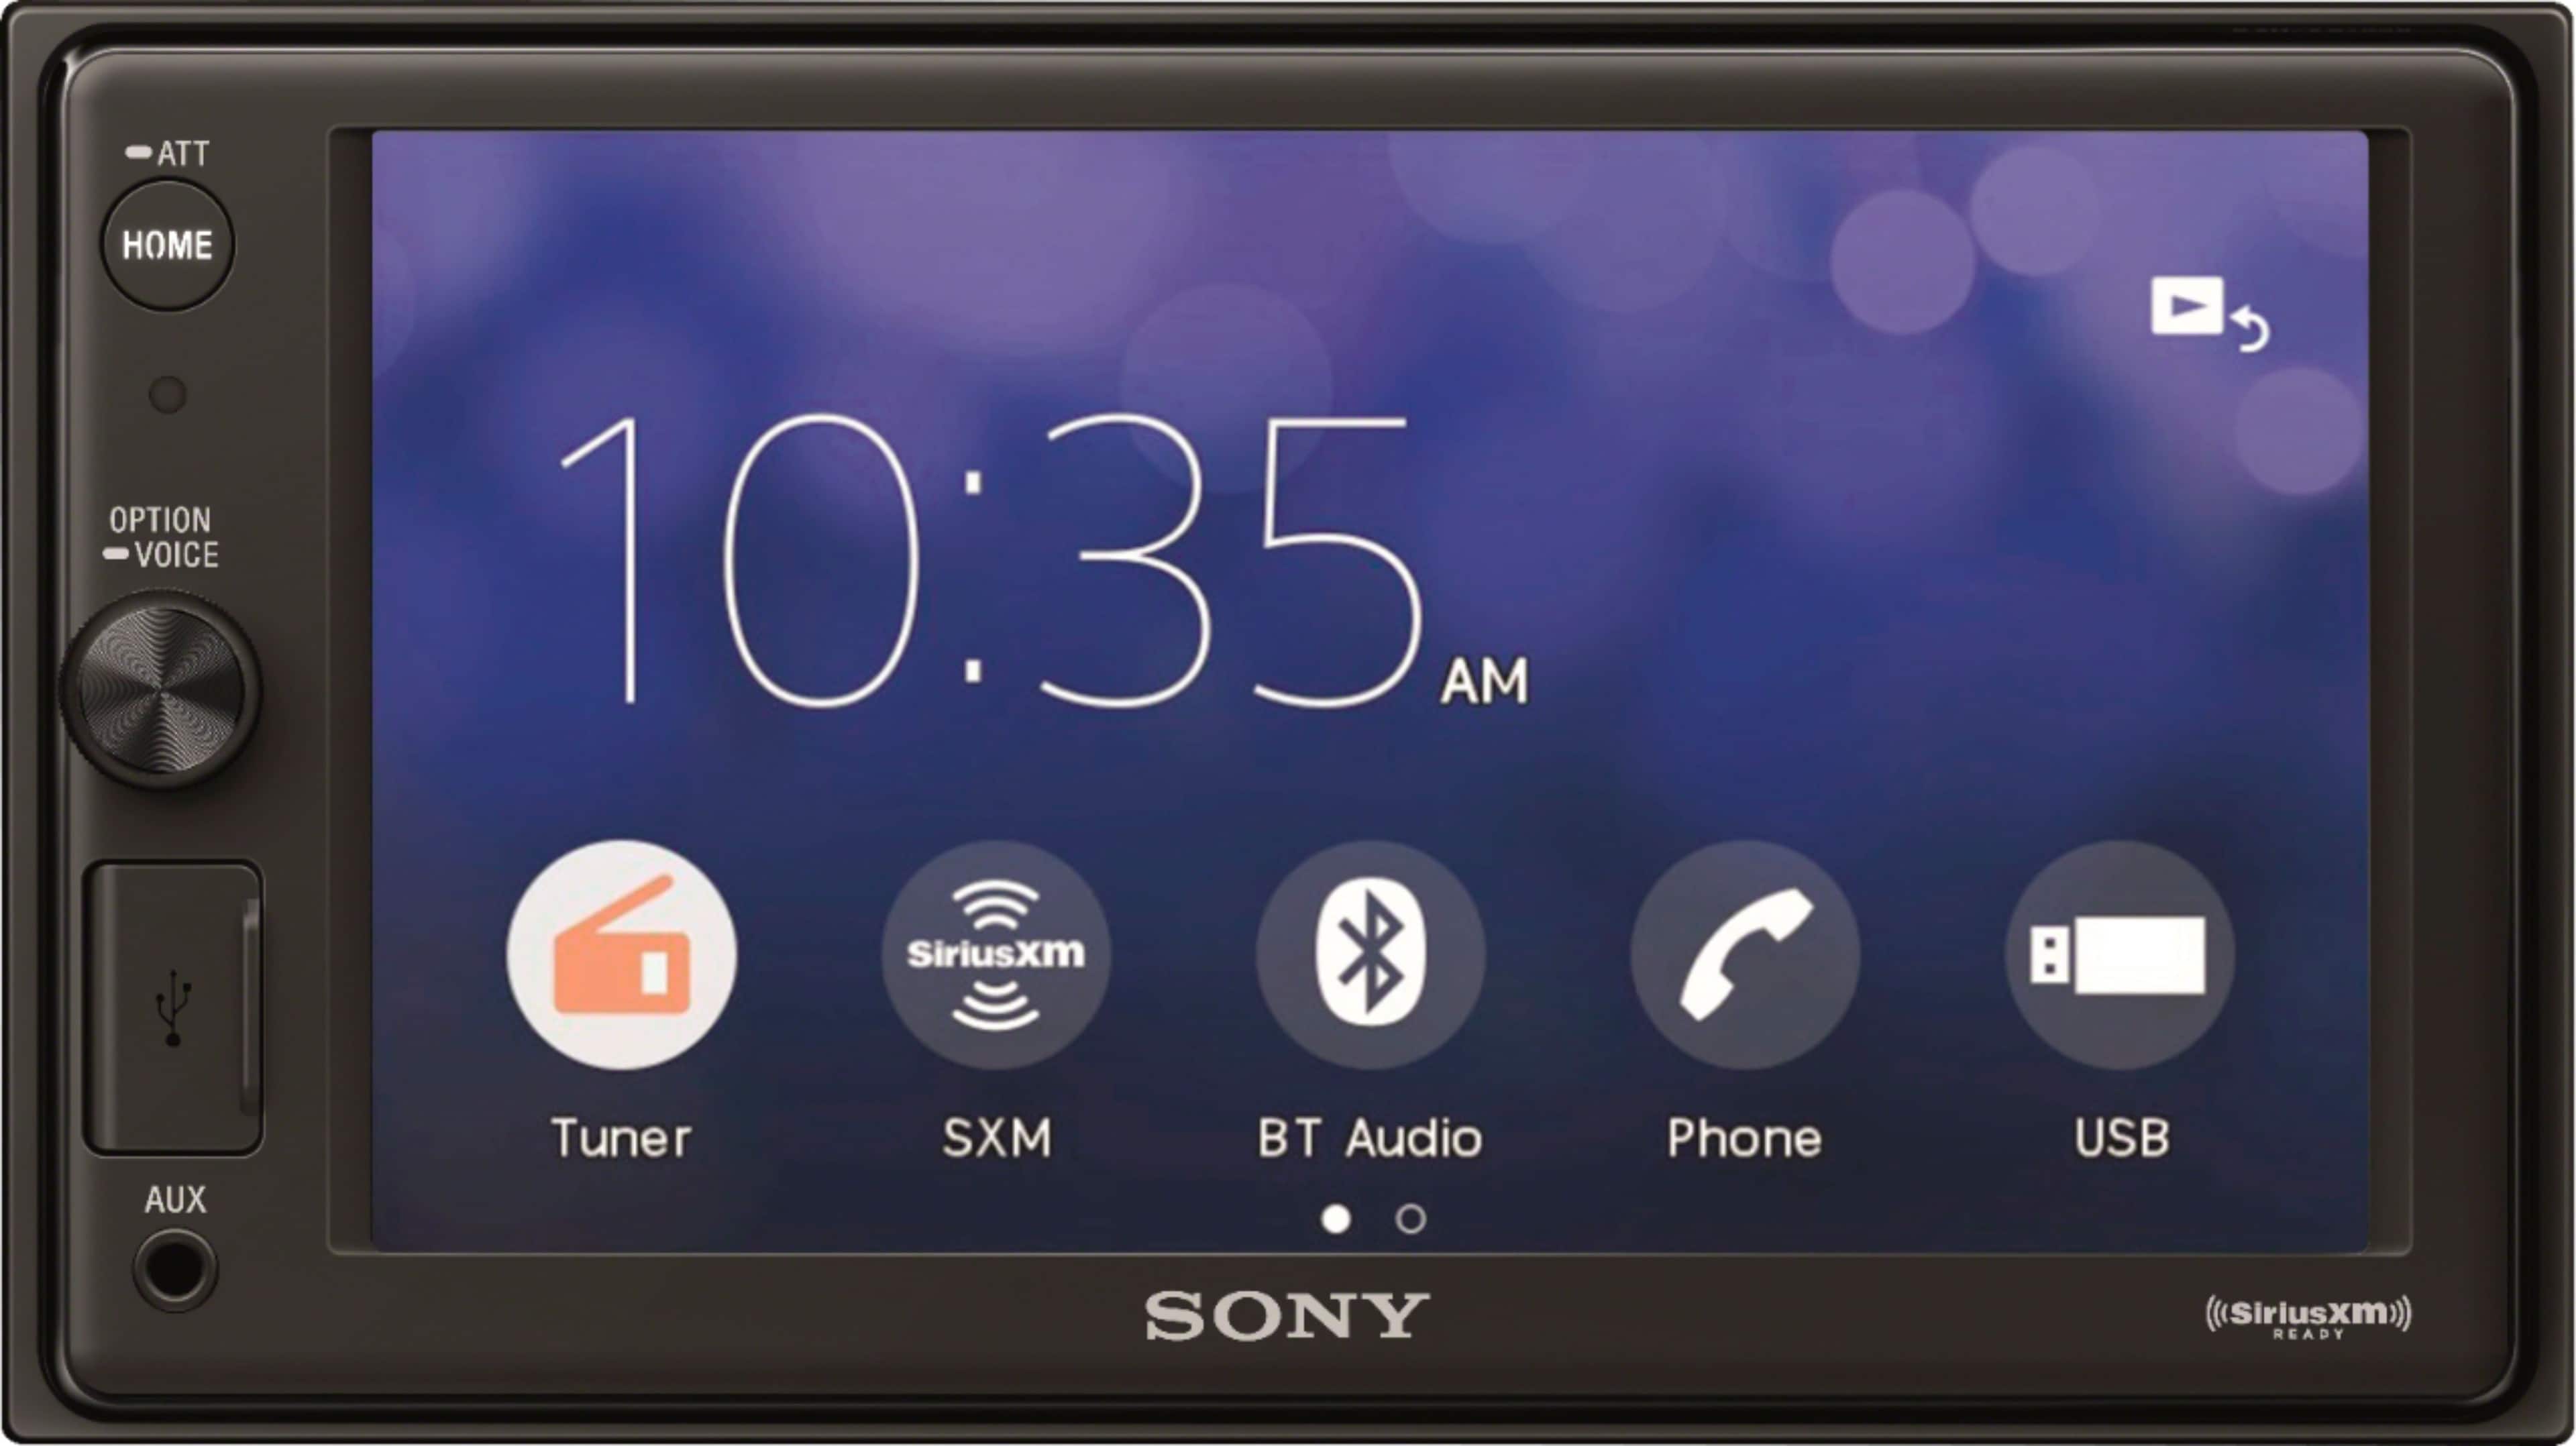
Step 3: Using the Home Button to Find Settings
Once you\"re ready to adjust your Sony car stereo\"s clock, the \"Home\" button is your gateway to the settings menu. Pressing this button will display the main menu on your stereo\"s screen.
- Press the \"Home\" button on your car stereo to access the main menu.
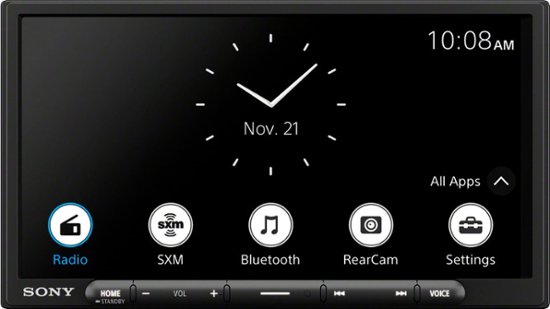
- Look for a gear icon or a \"Settings\" option on the display. This might be directly on the main screen or within a \"Menu\" sub-section.
- Tap or select \"Settings\" to enter the settings menu. Here you will find various options, including audio settings, system settings, and more importantly, the clock or time settings.
- Navigate through the settings menu until you find the \"Clock Settings\", \"Time Adjustment\", or similar option. This option might be under \"General Settings\", \"System Settings\", or listed independently.
This process will vary slightly depending on the specific model of your Sony car stereo, but generally, the \"Home\" button is the first step in navigating to the clock settings for adjustment.

Step 4: Selecting Clock Adjust in the Settings
With the settings menu open, you\"re ready to find and adjust the clock settings on your Sony car stereo:
- Scroll through the options in the settings menu until you find \"Clock Adjust\", \"Clock Settings\", or a similarly named option. This is where you can set or adjust the time.
- Select this option by pressing the corresponding button on your stereo\"s faceplate or touchscreen, depending on your model.
- Upon selecting \"Clock Adjust\", you will be taken to a screen where you can change the hours and minutes of your stereo\"s clock.
Note: The exact naming and location of the clock settings can vary by model. It may be directly under \"Settings\" or nested within another menu like \"General\" or \"System Settings\". Always refer to your stereo\"s user manual for model-specific instructions.
_HOOK_
Step 5: Setting the Hour and Minute
After selecting the \"Clock Adjust\" or \"Clock Settings\" option, you will be able to set the hour and minute on your Sony car stereo:
- For the hour setting, use the volume knob or arrow keys to increase or decrease the hour. If your stereo has a touchscreen, tap the plus (+) or minus (-) symbols to adjust the hour.
- Once the correct hour is displayed, confirm your selection by pressing the \"Enter\", \"Set\", or the volume knob, depending on your model.
- Next, move to set the minute. Similar to setting the hour, use the knob or touchscreen controls to adjust the minutes.
- Confirm your minute setting by pressing the \"Enter\", \"Set\", or by pressing the volume knob.
Ensure each step is confirmed if your model requires it, as some models might automatically save the time once adjusted. The process may slightly differ across various Sony car stereo models, so it\"s advisable to refer to the user manual for specific instructions.

How to Set the Clock for Sony Radios
Learn how to easily set your clock with this quick tutorial video! Say goodbye to constantly being late and never missing an appointment again. Watch now and take control of your time management skills!
Step 6: Confirming the Time Setting
Once you have set the hour and minute on your Sony car stereo, the final step is to confirm and save your settings:
- After adjusting the hour and minute to the correct time, look for a \"Confirm\", \"Set\", or \"OK\" option on your stereo\"s screen.
- Select this option to save the time settings. This might require pressing a button or tapping on the screen, depending on your model.
- Some models may automatically save the time once adjusted, without needing to press a confirm button. If this is the case, simply exit the clock settings menu to complete the process.
Ensure that the time has been correctly set by observing the display. It should now reflect the new time. If not, you may need to repeat the previous steps to ensure accuracy.
If your stereo requires, you can press the \"Home\" button or another designated button to return to the main menu, where the updated time should be displayed.
How to Set the Clock Time and Turn Off Beep on Sony MEX Car Stereo
Tired of being startled by annoying beeping sounds? Discover how to turn off the beep on your device and enjoy a peaceful and quiet environment. Don\'t let unnecessary noise disrupt your day, watch this video now!
Step 7: Troubleshooting Common Issues
Encountering issues while setting the clock on your Sony car stereo can be frustrating. Here are solutions to common problems:
- Clock Resets After Turning Off the Car: Ensure your stereo is correctly connected to the vehicle\"s battery. Incorrect wiring can cause the clock to reset every time you turn off the engine.
- Unable to Access Clock Settings: Some models require the car to be in accessory mode or fully on. Try changing the ignition setting if you can\"t access the clock settings.
- Settings Do Not Save: After setting the time, make sure to press the \"Set\", \"Enter\", or equivalent button to save your settings. If the settings don\"t save, double-check that you\"ve confirmed your changes.
- Automatic Time Setting Incorrect: If your stereo is set to automatically update the time and it\"s incorrect, try setting the clock manually or adjust the DST (Daylight Saving Time) settings if applicable.
- Display Not Showing Time: If the display isn\"t showing the time, check if there\"s an option to enable the clock display in the settings. This could be under \"Display Settings\" or similar.
For model-specific issues or if problems persist, consult your Sony car stereo\"s user manual or contact Sony support for further assistance.

READ MORE:
Step 8: Advanced Settings and Features
After setting the basic time on your Sony car stereo, you might want to explore advanced settings and features for optimal performance:
- Automatic Time Adjustment: Some Sony car stereos can automatically adjust the clock using Radio Data System (RDS) signals. Look for a \"CT\" (Clock Time) setting in the clock or system settings menu to enable this feature.
- Daylight Saving Time (DST) Adjustment: For models that support it, you can manually adjust for DST. This option is usually found in the same menu as the clock settings.
- Time Zone Setting: If you travel frequently, adjusting the time zone can be handy. Some models allow you to change the time zone, which automatically adjusts the clock to the selected zone.
- 24-Hour and 12-Hour Format: You can choose between 24-hour or 12-hour (AM/PM) time formats based on your preference. This setting is typically found within the clock or general settings menu.
These advanced features enhance your experience by ensuring the clock remains accurate and suits your preferences. Refer to your stereo\"s manual for detailed instructions on accessing and adjusting these settings.
With these steps, setting the clock on your Sony car stereo should be a breeze. Enjoy your drives with the correct time displayed, enhancing both functionality and convenience in your vehicle\"s audio experience.


:format(webp)/cdn.vox-cdn.com/uploads/chorus_asset/file/24337184/DSCF1086.jpg)