Topic sony vegas text: Discover how to elevate your video projects with Sony Vegas by mastering the art of text effects and animations, enhancing the visual appeal and storytelling impact of your creations.
Table of Content
- How to add text effects in Sony Vegas?
- Understanding Sony Vegas Text Tools
- Adding Text to Your Video in Sony Vegas
- Creating Animated Text in Sony Vegas
- Customizing Text: Fonts, Colors, and Styles
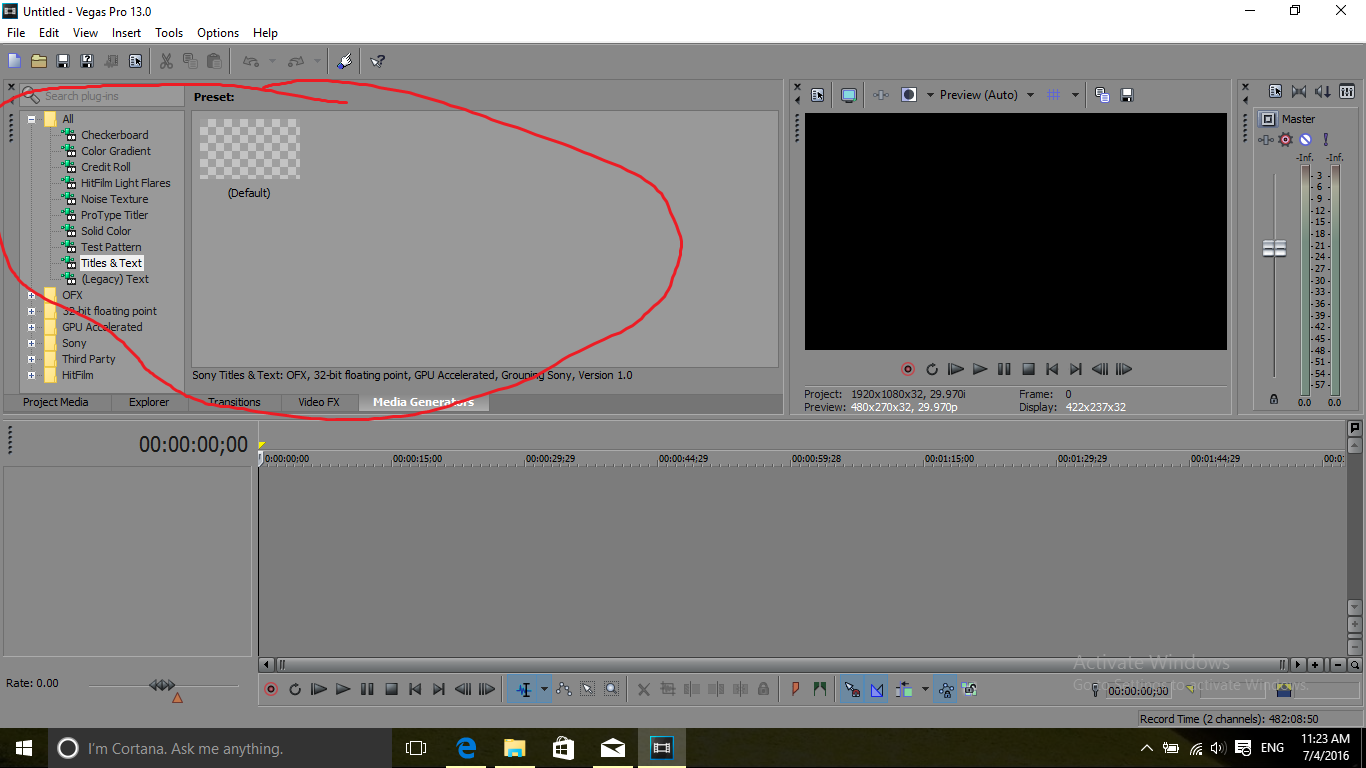
- Working with Text Presets and Media Generators
- Animating Text: Keyframe Basics
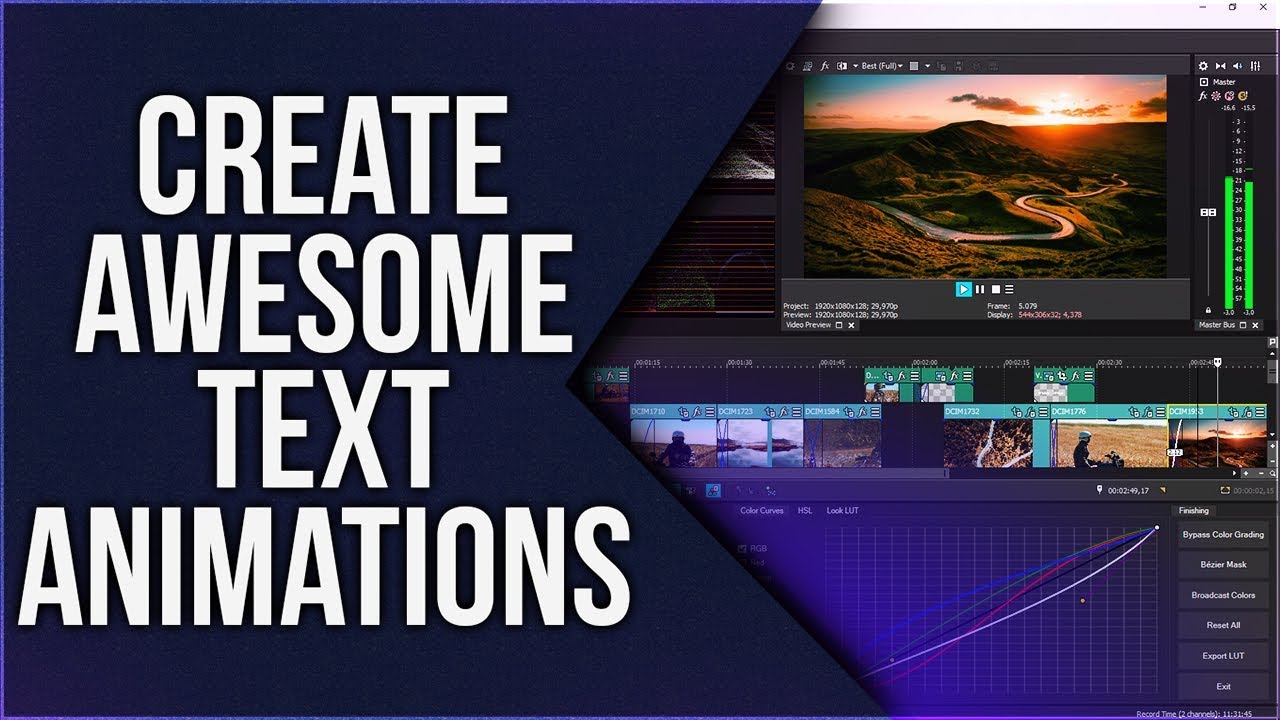
- YOUTUBE: VEGAS Pro Titles and Text
- Advanced Text Animation Techniques
- Using Text to Enhance Video Projects
- Troubleshooting Common Text Issues in Sony Vegas
- Best Practices for Exporting Videos with Text
How to add text effects in Sony Vegas?
To add text effects in Sony Vegas, follow these steps:
- Open Sony Vegas Pro on your computer.
- Go to the Media Generators tab.
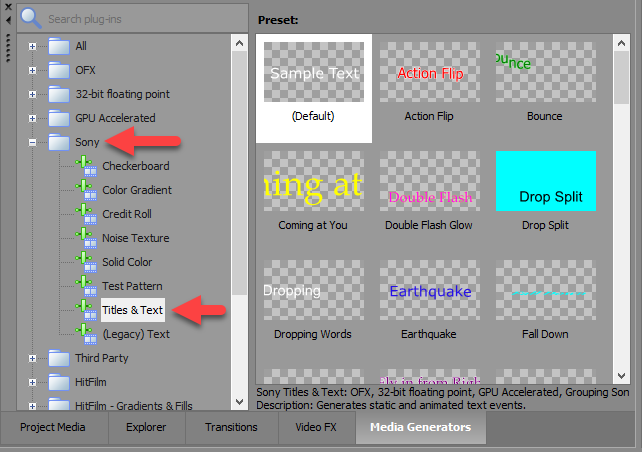
- Select the Text or Title option.
- You will find various pre-set text effects to choose from such as Action Flip, Bounce, Float, and Pop.
- Select the desired text effect.
- Drag and drop the effect onto the timeline or video track where you want the text to appear.
- Adjust the duration and position of the text effect by dragging it on the timeline.
- Double-click on the text effect in the timeline to open the Text Properties window.
- In the Text Properties window, you can customize the text itself, font, size, color, and other formatting options.
- Make the desired changes and click Apply or OK.
- Preview the text effect by playing the timeline.
- Once you are satisfied with the text effect, you can render and export your video with the added text.
READ MORE:
Understanding Sony Vegas Text Tools
Sony Vegas Pro offers a suite of powerful text tools that allow creators to add dynamic text overlays to their video projects. Understanding these tools is essential for enhancing your videos with informative, engaging, and visually appealing text.
- Media Generators Tab: Access a variety of text media presets, including titles, lower thirds, and scrolling text.
- Text Tool: Directly create and edit text elements on your video timeline, offering customization options like font, size, color, and animation.
- Animating Text: Utilize keyframe animation to make your text move, fade in/out, or change style over time.
- Customization Options: Dive deep into font choices, color schemes, and text styles to match your video\"s tone and branding.
- Effects and Presets: Apply pre-designed effects or create your own custom animations to make your text stand out.
By mastering Sony Vegas text tools, you can significantly improve your video projects\" quality, making them more engaging and informative for your audience. Experimenting with these tools will unlock endless creative possibilities, from simple title additions to complex animated sequences.
Adding Text to Your Video in Sony Vegas
Adding text to your videos in Sony Vegas is a straightforward process that can significantly enhance your content\"s professionalism and appeal. Follow these steps to seamlessly integrate text into your projects:
- Open Your Project: Launch Sony Vegas and open the video project to which you want to add text.
- Navigate to Media Generators: Click on the \"Media Generators\" tab, usually found on the lower part of the interface, and select the \"Text\" category.
- Choose Your Text Template: Browse through the available text templates. Double-click on your chosen template to add it to your timeline.
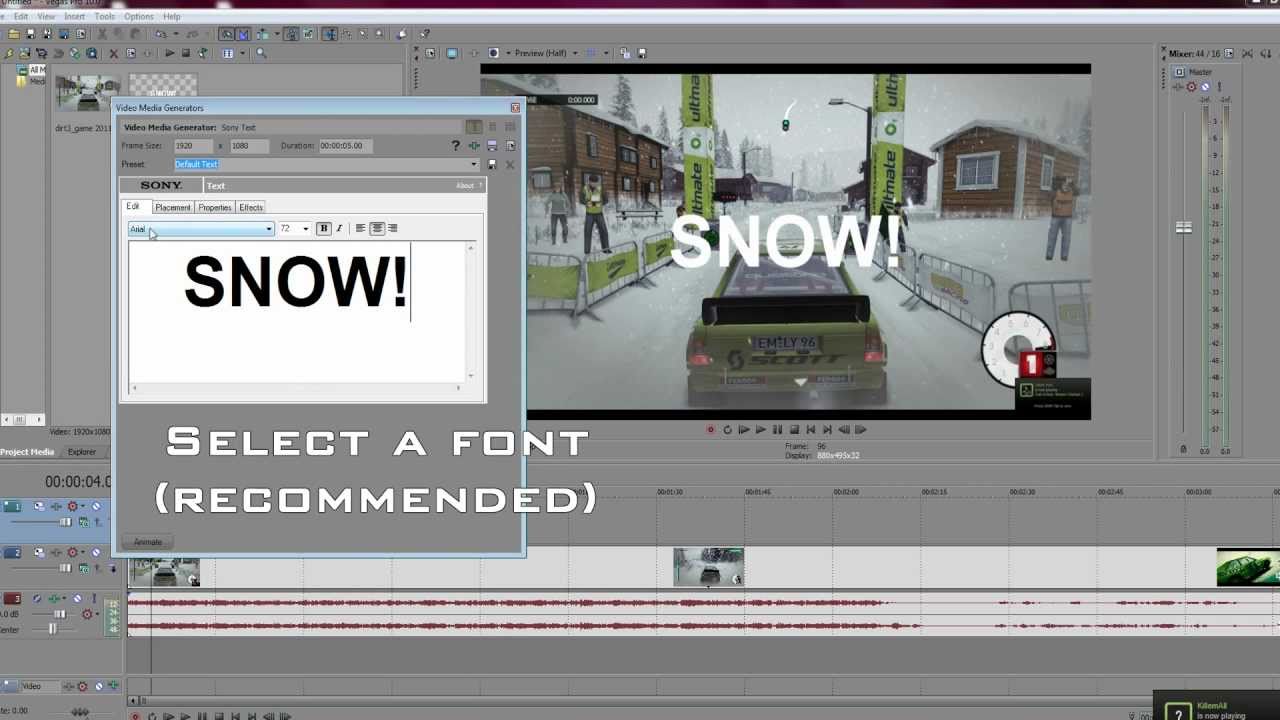
- Edit Your Text: With the text layer selected in your timeline, you can change the text content, font, size, color, and other properties in the Video Preview window or through the Edit Text window.
- Position Your Text: Drag the text box in the Video Preview window to position your text on the screen. Use the handles to adjust size and orientation.
- Customize Text Appearance: Utilize the properties window to further customize the font style, color, shadows, outlines, and animations for your text.
- Preview Your Text: Play your project to preview how the text appears with your video. Make any necessary adjustments.
- Render Your Video: Once satisfied with the text addition, save your project and render your video to apply the changes permanently.
By following these steps, you can add informative, engaging text to your Sony Vegas video projects, enhancing the viewer\"s experience and understanding of your content.

Creating Animated Text in Sony Vegas
Animating text in Sony Vegas can transform your video projects, making them more dynamic and engaging. Here\"s a step-by-step guide to creating animated text:
- Start with Text: Add text to your project by following the initial steps to insert text onto your timeline.
- Open Event Pan/Crop: Right-click on the text event on your timeline and select \"Pan/Crop\" to open the Pan/Crop window.
- Enable Keyframing: At the bottom of the Pan/Crop window, click the \"Position\" toggle to enable keyframing for your text.
- Set Initial Keyframe: Move the playhead to the beginning of the text event and set your starting position, size, and other properties.
- Add More Keyframes: Move the playhead to where you want the animation to change and adjust your text\"s position, size, or properties to create a new keyframe automatically.
- Customize Animation: Continue adding keyframes along the timeline where you want changes in the animation, creating a custom motion or transformation effect for your text.
- Preview Animation: Use the play function to preview your text animation. Adjust the keyframes as needed for the desired effect.
- Experiment with Effects: Explore the \"Video FX\" tab for additional effects that can be animated in conjunction with your text for even more dynamic results.
- Finalize: Once satisfied with your animated text, finalize your project by rendering the video to see the animation in action.
With these steps, you can create visually captivating text animations in Sony Vegas, adding a professional touch to your video projects.

Customizing Text: Fonts, Colors, and Styles
Customizing the appearance of your text in Sony Vegas is essential for creating visually appealing and cohesive video content. Here\"s how you can personalize fonts, colors, and styles:
- Select Your Text: Click on the text event in your timeline to select it.
- Access Text Properties: Open the text editing window by double-clicking on the text event or clicking the \"Edit Text\" button in the video preview window.
- Choose a Font: In the text properties window, click on the font dropdown menu to select from a wide range of fonts. Consider the tone and theme of your video when choosing a font.
- Select Color: Click on the color box next to the font selection to open the color picker. Choose a color that stands out against your video background for readability.
- Apply Styles: Utilize the style buttons to apply bold, italic, underline, or shadow effects to your text. Experiment with these styles to see what best suits your video.
- Adjust Size and Alignment: Use the font size slider to adjust the size of your text. You can also align your text left, center, or right using the alignment options.
- Experiment with Effects: For additional customization, explore the \"Video FX\" tab. Adding effects like glows, outlines, or blurs can make your text more dynamic.
- Preview Your Changes: Always preview your text within the video to ensure it looks as expected. Adjust the properties as needed for optimal readability and impact.
By customizing the fonts, colors, and styles of your text in Sony Vegas, you can significantly enhance the professional quality of your videos and ensure your messages are conveyed effectively.
_HOOK_
Working with Text Presets and Media Generators
Sony Vegas Pro\"s text presets and media generators are powerful tools for enhancing your videos with professional-looking text. Here\"s how to utilize these features effectively:
- Access Media Generators: Navigate to the \"Media Generators\" tab, found in the lower section of the Sony Vegas interface.
- Select Text Presets: In the Media Generators list, click on \"Text\" to expand the selection of text presets. You\"ll find options for titles, lower thirds, and more.
- Preview Presets: Hover over a preset to preview it in the video preview window. This helps you see how the text will look in your project.
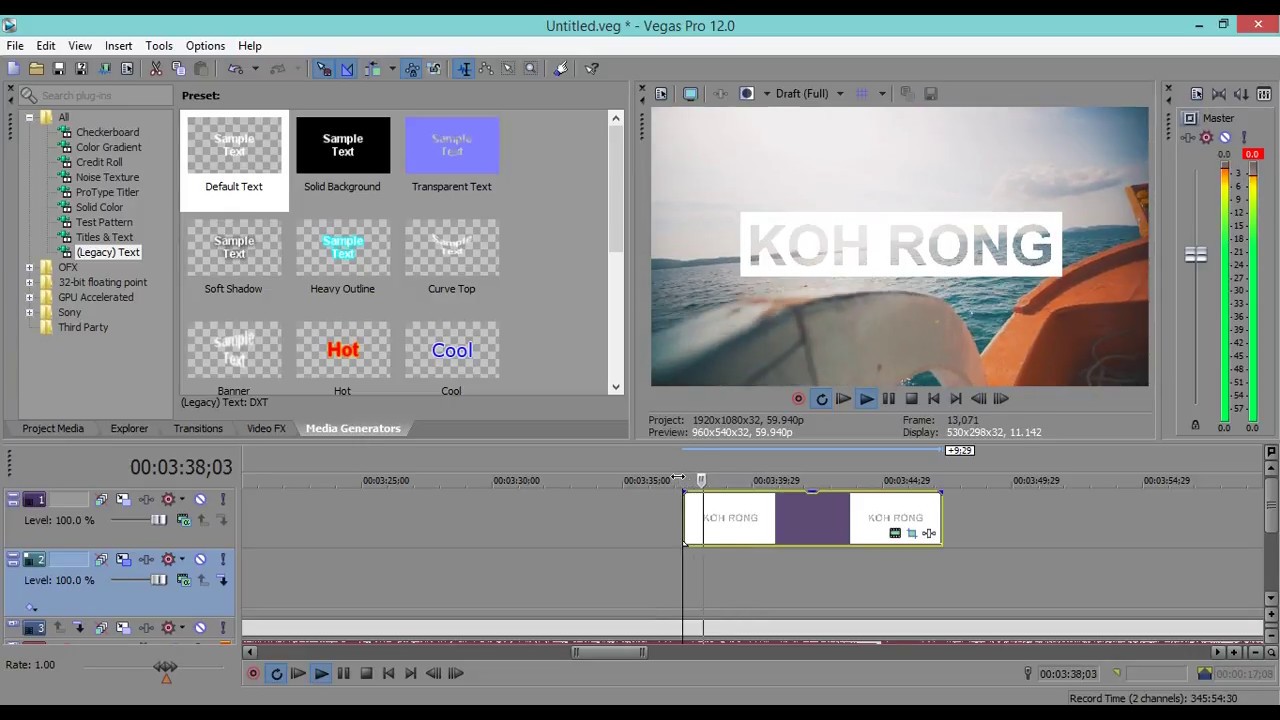
- Add a Preset to Timeline: Drag your chosen preset to the timeline where you want the text to appear in your video.
- Customize Your Text: Double-click the text event on your timeline to open the text editing window. Here, you can customize the text content, font, color, and more.
- Explore Animation Options: Many text presets come with built-in animations. You can adjust these animations or add new ones using keyframes in the event pan/crop window.
- Adjust Duration: Click and drag the edges of the text event on your timeline to adjust the duration of your text on screen.
- Save Custom Presets: If you\"ve created a text setup that you\"d like to use again, you can save it as a custom preset. Right-click on the text event and select \"Save Preset\" to use it in future projects.
By mastering text presets and media generators in Sony Vegas, you can quickly add polished text elements to your videos, saving time while enhancing your content\"s visual appeal.
Animating Text: Keyframe Basics
Keyframing is a fundamental technique in Sony Vegas for creating animated text effects. This method allows for precise control over how text properties change over time. Here\"s a beginner\"s guide to using keyframes for text animation:
- Select Your Text Layer: Add text to your timeline and select it to begin animating.
- Open the Event Pan/Crop Window: Right-click on the text event and choose \"Pan/Crop\" or \"Event FX\" depending on the type of animation you want to create.
- Enable Keyframing: In the Pan/Crop or Event FX window, you\"ll see a timeline at the bottom. This is where you\"ll create your keyframes.
- Create Your First Keyframe: Move the playhead to the position where you want your animation to start. Adjust your text\"s properties (position, size, opacity, etc.) as desired. This creates your first keyframe.
- Add More Keyframes: Move the playhead to another point in time and adjust your text properties again. Sony Vegas automatically adds a new keyframe. Repeat this process to create a sequence of changes.
- Adjust Keyframe Interpolation: Right-click on a keyframe to change its interpolation method (e.g., linear, smooth, sharp). This affects how the animation transitions between keyframes.
- Preview Your Animation: Play back your timeline to see how your text animates. Adjust the keyframes as needed for the desired timing and effect.
- Save and Apply: Once satisfied with your animation, close the Pan/Crop or Event FX window. Your text animation is now part of your video project.
With practice, keyframing in Sony Vegas allows you to bring text to life in your videos, adding depth and dynamism to your storytelling.
VEGAS Pro Titles and Text
\"Discover the secrets of creating catchy and unforgettable titles with our insightful video! Learn how to grab your audience\'s attention and make your content stand out from the crowd. Watch now and become a master of captivating titles!\"
VEGAS Pro How To Add Text To Your Video Tutorial 554
\"Looking to enhance your skills or learn something new? Our step-by-step tutorial video has got you covered! Whether you\'re a beginner or an expert, we break down complex concepts into easy-to-understand instructions. Dive into our tutorial and unlock your full potential today!\"
Advanced Text Animation Techniques
Once you\"re comfortable with basic keyframing and text animations in Sony Vegas, you can explore more advanced techniques to create complex and visually stunning effects. Here are some methods to elevate your text animations:
- 3D Text Animation: Utilize the 3D source alpha and track motion features to animate text in three dimensions, adding depth and realism to your projects.
- Bezier Masking for Text: Apply Bezier masks to your text events to create unique shapes and reveal animations. This can be used for creative transitions or to highlight specific parts of your text.
- Combining Effects: Layer multiple video effects on your text to create unique looks. Experiment with blurs, glows, and color adjustments in combination with animation.
- Using Parent-Child Tracks: Leverage the parent-child track relationship to animate multiple text events simultaneously. This is great for complex sequences where text elements interact with each other.
- Custom Animation Curves: For precise control over animation speed and easing, manually adjust the keyframe curves in the event pan/crop window. This allows for smooth acceleration and deceleration of text movement.
- Scripting for Animation: For users with programming knowledge, scripting in Sony Vegas can automate complex animations, saving time on repetitive tasks.
- Syncing Text to Audio: Use the audio waveform as a guide to sync your text animation with music or speech, enhancing the impact of your video\"s audiovisual elements.
By mastering these advanced techniques, you can create professional-level text animations in Sony Vegas, significantly boosting the quality and engagement of your video content.
Using Text to Enhance Video Projects
Text is a powerful tool in video production, capable of adding depth, clarity, and engagement to your projects. Here are ways to effectively use text to enhance your video content:
- Title and Headings: Use text to introduce the video topic or segments, making it easier for viewers to follow along.
- Subtitles and Captions: Adding subtitles can make your content accessible to a wider audience, including those who are hearing impaired or speak different languages.
- Call to Action: Text can be used to encourage viewers to take a specific action, such as subscribing to a channel, visiting a website, or participating in a poll.
- Highlighting Information: Use text to highlight key information or statistics that may be difficult to convey through video alone.
- Storytelling: Text can add an additional layer to your storytelling, providing context, or adding to the narrative in creative ways.
- Branding: Incorporate your brand\"s fonts, colors, and logos in your text to strengthen brand recognition and consistency across your videos.
- Interactive Elements: Utilize text as part of interactive elements in your videos, such as quizzes or interactive stories, to engage your audience more deeply.
Integrating text into your video projects can significantly enhance viewer engagement and comprehension. By carefully considering how and where to use text, you can create more informative, accessible, and compelling video content.
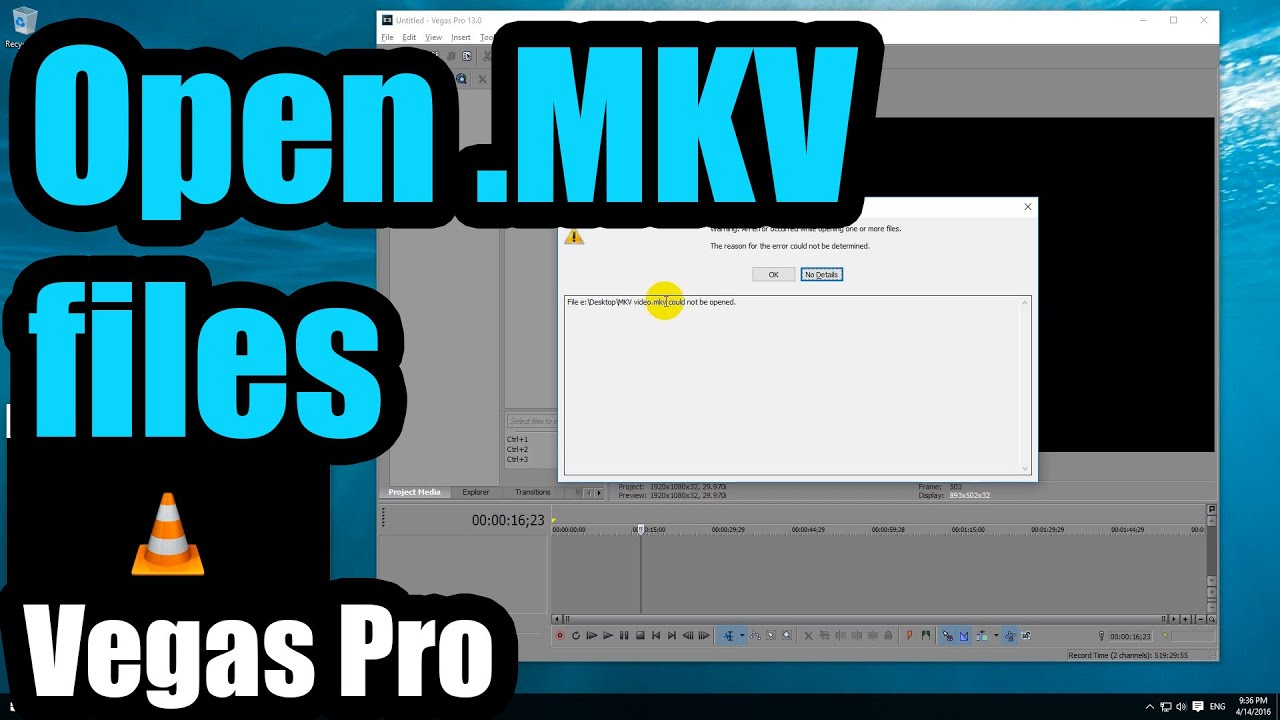
Troubleshooting Common Text Issues in Sony Vegas
While working with text in Sony Vegas, users may encounter various issues. Here\"s how to troubleshoot some of the most common text problems:
- Text Not Displaying Correctly: Ensure your video preview quality is set high enough to accurately display text. If the text still looks off, check the font size and screen resolution settings.
- Fonts Not Available: If a specific font isn\"t showing up, ensure it\"s properly installed in your Windows font directory. Restart Sony Vegas after installing new fonts.
- Animating Text Issues: For problems with text animation, verify the keyframe positions and ensure the animation settings are correctly applied. Sometimes simplifying the animation can help identify the issue.
- Text Clipping or Cropping: Adjust the text box boundaries in the video preview window to ensure all text is visible. Also, check the aspect ratio settings of your project.
- Text Layer Not Appearing: Ensure the text layer is placed above the video layers in your timeline. Also, check the opacity settings of the text layer.
- Quality Loss After Rendering: Increase the bit rate and choose a higher quality preset when rendering your project to maintain text clarity.
- Crashing When Using Text: This can be due to software bugs or compatibility issues. Make sure you\"re using the latest version of Sony Vegas and that your system meets the software\"s requirements.
By systematically checking these areas, you can resolve most issues related to text in Sony Vegas, ensuring your video projects look professional and polished.

_HOOK_
READ MORE:
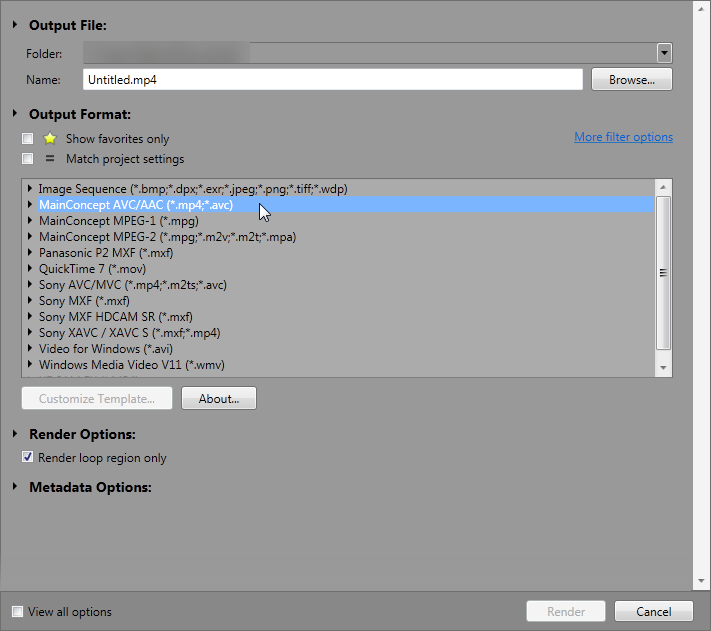
Best Practices for Exporting Videos with Text
Ensuring your text appears as intended in the final video requires attention to detail during the exporting process. Here are best practices for exporting videos with text in Sony Vegas:
- Choose the Right Format: Select a video format that supports high resolution and quality, such as MP4 or AVI, to maintain text clarity.
- Opt for High Bitrate: A higher bitrate can significantly improve the quality of your text in the final video. Adjust your bitrate settings based on your project\"s needs.
- Maintain Aspect Ratio: Ensure the aspect ratio of your project matches the intended display platform to prevent stretching or squishing of text.
- Preview Before Exporting: Always preview your video in full resolution before exporting to catch any issues with text appearance or placement.
- Consider Compatibility: If your video will be viewed on various devices and platforms, test the exported file on different screens to ensure text readability across all mediums.
- Use Safe Margin Guides: While editing, enable safe margin guides to ensure your text is not cut off on different screens or during playback on various media players.
- Embed Fonts (if possible): When exporting projects that will be edited further or viewed on systems that may not have the used fonts installed, embedding fonts can preserve text appearance.
- Check the Final Output: After exporting, watch your video in its entirety to ensure all text displays as expected and no rendering issues have occurred.
Following these practices will help you achieve professional-quality videos with crisp, clear text, ensuring your message is effectively communicated to your audience.
Mastering text in Sony Vegas opens a world of creativity for your video projects, enhancing storytelling and viewer engagement. Embrace these techniques to transform your content into captivating visual narratives.